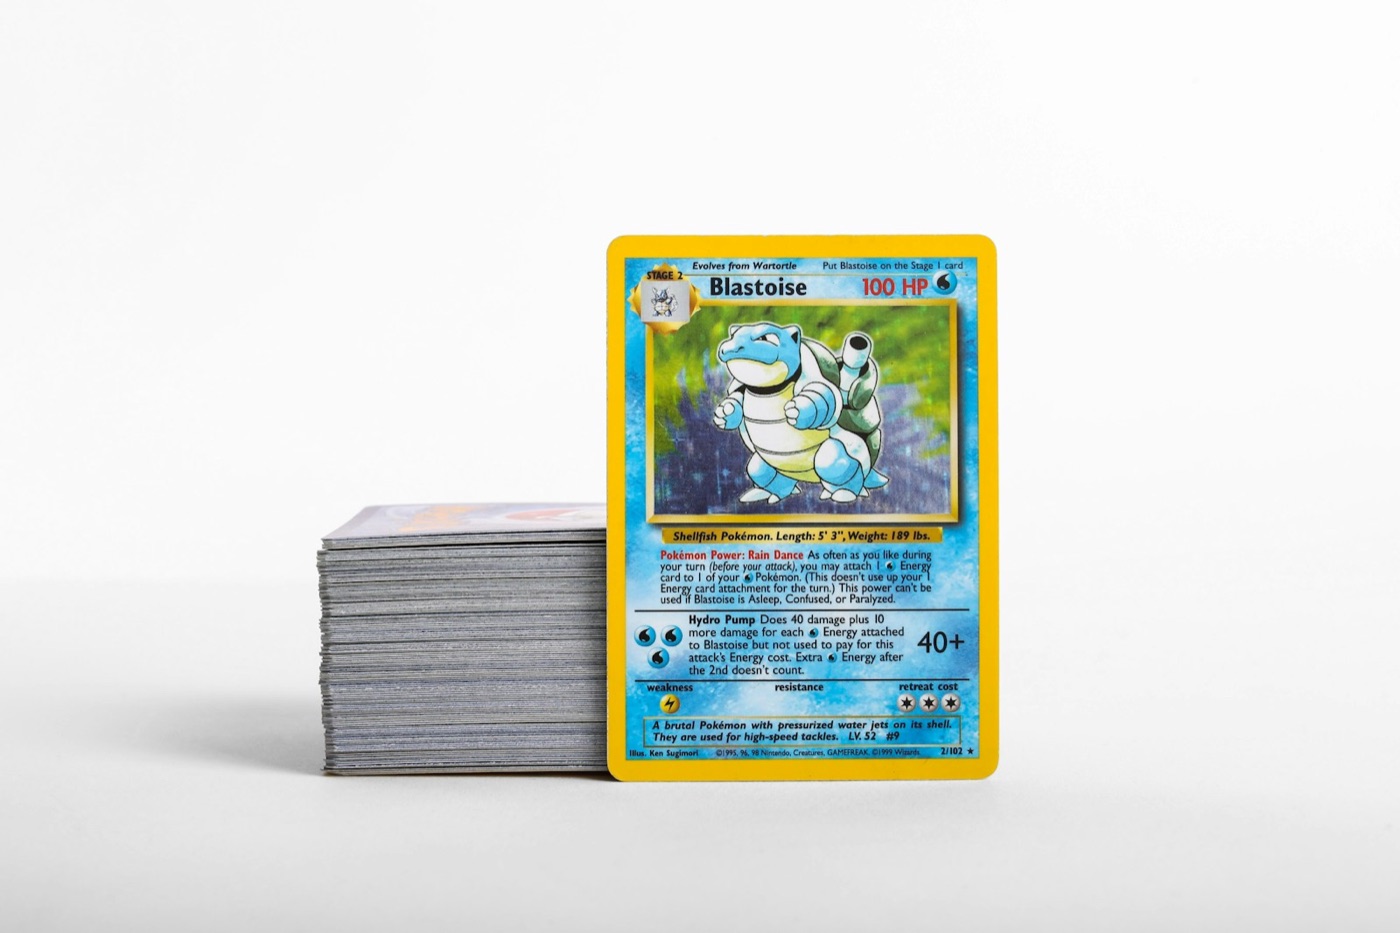
Getting overwhelmed by unsorted stacks of Pokemon cards is a rite of passage for collectors. Whether you just opened a booster box, returned from a local trade night, or bought a bulk lot, cards tend to pile up quickly on desks, tables, and shelves. Without a systematic way to process them, these piles can sit unsorted for weeks, making it impossible to know what you actually own.
To keep your collection organized and prevent inventory backlogs, you need a repeatable intake workflow. The most efficient way to handle this is by organizing your workspace with dedicated physical sorting trays. By pairing physical trays with a fast digital tracker, you can catalog, price, and store your cards in a fraction of the time.
Here is how to set up a professional-grade sorting tray system and build an efficient physical-to-digital inventory workflow.
Why Physical Sorting Trays Are Essential
Many collectors make the mistake of sorting cards directly on a flat desk. While this works for a handful of packs, it quickly falls apart with larger quantities. Cards slide around, stacks tip over, and it is easy to accidentally mix your high-value hits back into piles of common bulk.
Using physical sorting trays or multi-compartment organizers solves these problems by:
- Preventing Physical Damage: Trays keep cards contained, reducing the risk of edge wear, corner dings, or accidental spills.
- Grouping Cards Instantly: Compartments allow you to categorize cards by rarity, set, or type before you begin cataloging them.
- Optimizing Your Workspace: Trays keep your desk clear, giving you a dedicated, clean space to inspect and scan your cards.
- Streamlining Digital Tracking: When your cards are pre-sorted, you can scan them in batches, which dramatically speeds up your digital entry.
The Five-Tray Sorting Desk Blueprint
For a smooth intake workflow, you do not need expensive equipment. Simple plastic sorting trays, letter organizers, or even clean empty card boxes will do the job. The key is establishing a dedicated purpose for each compartment.
Here is the ideal five-compartment setup for active collectors:
Compartment 1: The Intake Pile (Unsorted & Raw)
This is where all new cards land first. Whether they are fresh pulls, mail day arrivals, or trade pickups, they stay in this tray until you are ready to process them. Keeping them in one place ensures no unsorted cards slip into your main collection prematurely.
Compartment 2: High-Value Hits (To Be Sleeved & Scanned)
This compartment is reserved for holo cards, ultra rares, secret rares, and any card that warrants immediate protective sleeving. Keeping your hits separate from the start ensures they do not rub against rougher common cards, protecting their surfaces from fine scratches.
Compartment 3: Playable Staples
If you also play the Pokemon TCG or build decks, you will want a dedicated space for competitive trainers, special energies, and highly playable common or uncommon Pokemon. Separating these from standard bulk makes it easy to file them into your deck-building boxes later.
Compartment 4: Standard Bulk (Commons & Uncommons)
This tray holds the standard bulk that you do not plan to display in binders. Once this compartment fills up, you can transfer the cards directly into larger multi-row cardboard storage boxes, sorted by set or type.
Compartment 5: Pending Decisions
Sometimes you find a card with minor wear, a potential misprint, or a version you cannot immediately identify. Instead of letting these cards slow down your momentum, place them in the "Pending" tray to research or inspect closely once your main sorting session is complete.
Integrating Digital Scanning into the Workflow
Once your physical cards are grouped into their respective trays, you can begin the cataloging process. Trying to manually type set numbers and card names into a spreadsheet is incredibly slow and prone to human error. Instead, integrate a mobile Pokemon card scanner directly into your tray routine.
Follow this step-by-step scanning workflow:
- Clear Your Center Space: Keep the area directly in front of you clear of clutter. Place your phone on a stand or hold it steadily over a clean, dark playmat.
- Process Tray 2 (Hits) First: Take your high-value stack and slide each card into a penny sleeve. Use your Pokemon collection app to scan each card immediately after sleeving. This logs the card into your digital inventory while keeping the physical copy protected.
- Verify the Details: As you scan, quickly confirm that the app has matched the correct set symbol and printing variant (such as reverse holo vs. standard holo).
- Check the Value Range: Use a reliable Pokemon card price checker within your app to see where the card stands. This helps you decide if a card deserves a premium holder, like a top-loader or a spot in your master binder, before you put it away.
Moving Cards to Permanent Storage
After scanning and cataloging a batch of cards, the final step in the workflow is routing them from your sorting trays to their permanent homes.
- Binder Cards: Take the cards from your "Hits" tray that you want to display and slide them into your side-loading binder pages. Because they are already digitized, your physical binder order can now perfectly mirror your digital checklist.
- Top-Loader Cards: Highly valuable singles should go straight from your scanner into a top-loader or magnetic case, then into a dedicated top-loader box.
- Playable Staples: Move these cards into a deck box or a labeled storage box dedicated to deck-building components.
- Bulk Boxes: Transfer your common and uncommon cards into standard white cardboard storage boxes. Label the outside of the box with the sets contained within and whether they have already been scanned and cataloged.
Tips for Maintaining a Zero-Friction Workspace
To keep your inventory workflow fast and enjoyable, keep these best practices in mind for your sorting station:
- Keep Sleeves Within Arm's Reach: Always stock a pack of penny sleeves and top-loaders right next to your sorting trays. If you have to get up to find protection, your workflow will grind to a halt.
- Ensure Proper Lighting: Good overhead lighting is crucial. It not only helps you spot minor scratches or edge wear during your physical inspection, but it also helps your card scanner identify set symbols and card art accurately.
- Scan in Batches: Do not try to scan every single card the moment you get it. Let your "Intake" tray accumulate cards throughout the week, then sit down for one focused session to sort, scan, and file them all at once.
- Clean Up Immediately: Once your sorting session is over, empty your trays. Put your bulk in bulk boxes, your binders on shelves, and your top-loaders in their cases. Starting your next session with empty trays makes the hobby feel like a breeze rather than a chore.
Keep Your Collection Organized with PokeSnap
Building a physical sorting tray routine is only half the battle; you also need a digital tool that can keep up with your pace.
With PokeSnap, you can turn your mobile device into a high-speed companion for your sorting desk. Use our camera-based scanner to identify cards instantly, check estimated market values, and organize your digital binders without tedious manual entry. Whether you are sorting through a single booster pack or cataloging an entire binder, PokeSnap helps you keep your physical storage and digital records in perfect sync. Download PokeSnap today and take control of your collection.