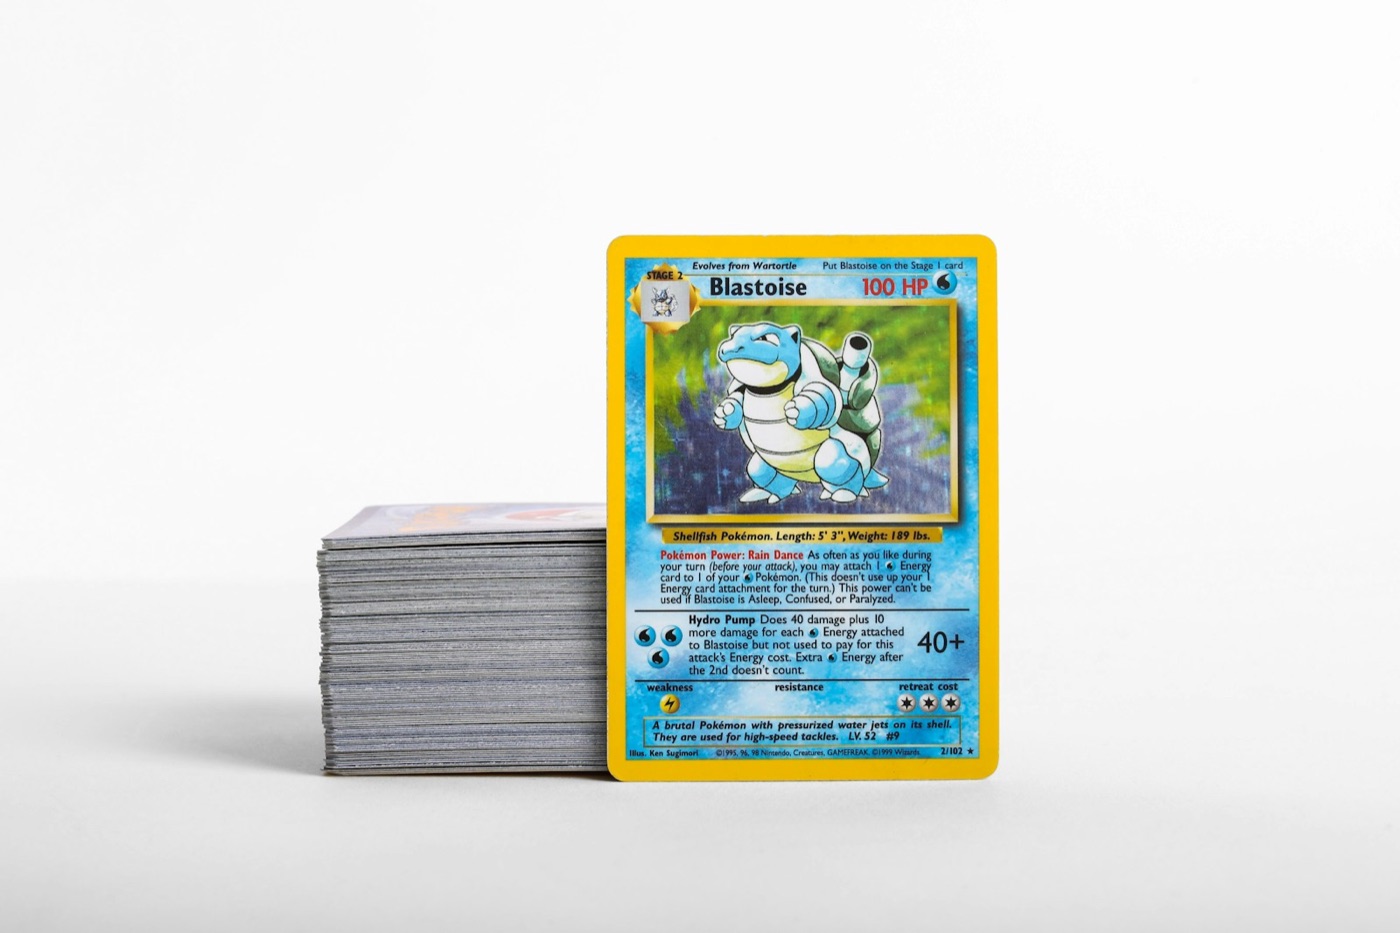
Every Pokemon card collector knows the feeling: a successful card show, a massive mail day, or a satisfying pack-opening session leaves your desk buried under a mountain of shiny cardboard. At first, it is exciting. But as the days pass, those raw stacks turn into a chaotic backlog. You forget what you pulled, misplace duplicates, and lose track of what needs to be sleeved.
The secret to maintaining a clean, stress-free collection is not spending hours every weekend sorting. Instead, you need a zero-friction cataloging workflow—a repeatable, step-by-step pipeline that moves cards from "new arrival" to "digitally tracked and physically archived" with minimal effort.
By setting up a systematic intake process, you can protect your cards from wear, keep your digital records accurate, and make sure your trade binders stay fresh. Here is how to build a high-efficiency cataloging station and routine for your Pokemon cards.
1. Designate a Physical Intake Zone
Before you open a single pack or purchase a new single, you need a designated physical space for incoming cards. If you do not have an intake zone, cards will naturally scatter across desks, shelves, and coffee tables, increasing the risk of edge wear or misplaced hits.
Your physical intake station only needs a small footprint, but it must contain three key elements:
- The Landing Tray: A clean, flat tray or playmat where raw, unsorted cards are placed immediately after acquisition.
- The Processing Trays: A set of small sorting bins or stackable card trays labeled by category (e.g., "Hits to Scan," "Bulk," "Keepers," "Trades").
- The Protection Caddy: A small container holding penny sleeves, perfect-fit sleeves, top loaders, and a pair of clean microfiber cloths.
By keeping your protective supplies within arm's reach of your landing tray, you eliminate the friction of searching for a sleeve when you pull a valuable card.
2. The Initial Sort: Grouping Before Scanning
When you have a fresh pile of cards sitting in your landing tray, resist the urge to scan them one by one as you pick them up. Scanning individual cards straight from an unsorted pile is slow and breaks your physical momentum. Instead, perform a quick initial sort to group your cards by rarity and type.
Use this simple four-pile sorting method:
- Ultra Rares & Chase Cards: Full arts, secret rares, illustration rares, and valuable holographic cards. These go straight into penny sleeves to prevent surface scratches.
- Reverse Holos & Holo Rares: Mid-tier cards that are essential for master set completion but do not require immediate top-loading.
- Playable Trainers & Commons: Cards currently popular in the competitive TCG scene that you may want to keep separate for deck building or trading.
- Bulk: Standard commons, uncommons, and basic energy cards that will go directly into bulk storage boxes.
Once your cards are grouped physically, you can process each stack in batches, which is significantly faster than switching tasks for every single card.
3. Rapid Digitization with a Pokemon Card Scanner
With your physical piles sorted, it is time to build your digital archive. Manual data entry is the biggest bottleneck in collection management. Typing out card names, set numbers, and rarities into a spreadsheet is a chore that leads to backlog fatigue.
This is where using a dedicated Pokemon card scanner changes the game. Instead of typing, you can simply point your phone's camera at each card. To make your scanning sessions as fast and accurate as possible, follow these best practices:
- Use Matte Backdrops: Place your card on a dark, non-reflective surface (like a black playmat). This helps the scanner identify the card's borders instantly.
- Optimize Your Lighting: Avoid direct overhead lighting that causes harsh glare on holographic surfaces. Instead, use soft, angled natural light or a diffused desk lamp.
- Batch Your Scans: Scan your "Hits to Scan" pile all at once. A high-quality scanner will recognize the card in a fraction of a second, allowing you to breeze through a stack of fifty cards in a few minutes.
4. Triage Value and Rarity
As you scan your cards, your digital tracker should immediately provide key contextual details about your new acquisitions. This step is crucial for deciding where each card lives in your physical storage system.
By utilizing a built-in Pokemon card price checker, you can instantly see the market context for each card you scan. This helps you make quick, informed decisions:
- High-Value Hits: Any card crossing your personal value threshold (e.g., $5 or $10) should be immediately placed in a premium sleeve and a top loader or semi-rigid holder.
- Trade Binder Candidates: Mid-value cards or popular playables can be set aside for your trade binder. Keeping these organized digitally allows you to show your trade inventory to others without carrying heavy physical binders everywhere.
- Binder Fillers: Low-value cards that you need for set completion can be routed directly to your set binders.
Identifying these values during the scanning phase ensures you never accidentally toss a valuable variant into a bulk box or leave a rare card unprotected.
5. Seamless Archiving: Mapping Digital to Physical
An organized digital inventory is only useful if it matches your physical storage. If your app says you own a specific card, but you have to search through five different boxes to find it, your system has failed.
To prevent this, use your Pokemon collection app to create digital lists or folders that mirror your physical storage setup. For example, you can organize your digital lists to match:
- Set Binders: Labeled by set name (e.g., "Scarlet & Violet Base Set Binder").
- Trade Binders: Categorized by rarity or type (e.g., "Ultra Rare Trade Binder").
- Storage Boxes: Labeled by box number or card type (e.g., "Box A - Holos & Reverse Holos").
When you scan a card and assign it to a specific folder in your app, immediately place that card into the corresponding physical binder slot or box. This keeps your digital records and physical inventory perfectly in sync, saving you hours of frustration when you need to locate a card for a trade or sale.
6. The 15-Minute Weekly Reset
Even the best cataloging workflow can break down if life gets busy. The key to long-term organizational success is consistency. Rather than waiting for your unsorted piles to become overwhelming, schedule a 15-minute weekly reset.
Every Sunday, clear your intake zone by following this quick checklist:
- Scan any stray cards left in your landing tray.
- Sleeve and archive any hits that were set aside during the week.
- File completed sets in their respective binders.
- Move bulk from your temporary processing trays into your long-term bulk storage boxes.
- Clean your scanning station so it is fresh and ready for the next week's mail days and pack openings.
Keeping this weekly habit prevents backlog buildup and ensures your digital collection tracker remains an accurate reflection of what you own.
Streamline Your Collection with PokeSnap
Building a zero-friction cataloging workflow is easy when you have the right tools. If you are ready to retire the manual spreadsheets and take control of your collection, PokeSnap is here to help.
With PokeSnap, you can scan cards in seconds, instantly check market values, and organize your entire collection into custom lists that match your physical binders and boxes. Check out our blog for more advanced collecting strategies, and download PokeSnap today to experience the ultimate Pokemon card inventory workflow.