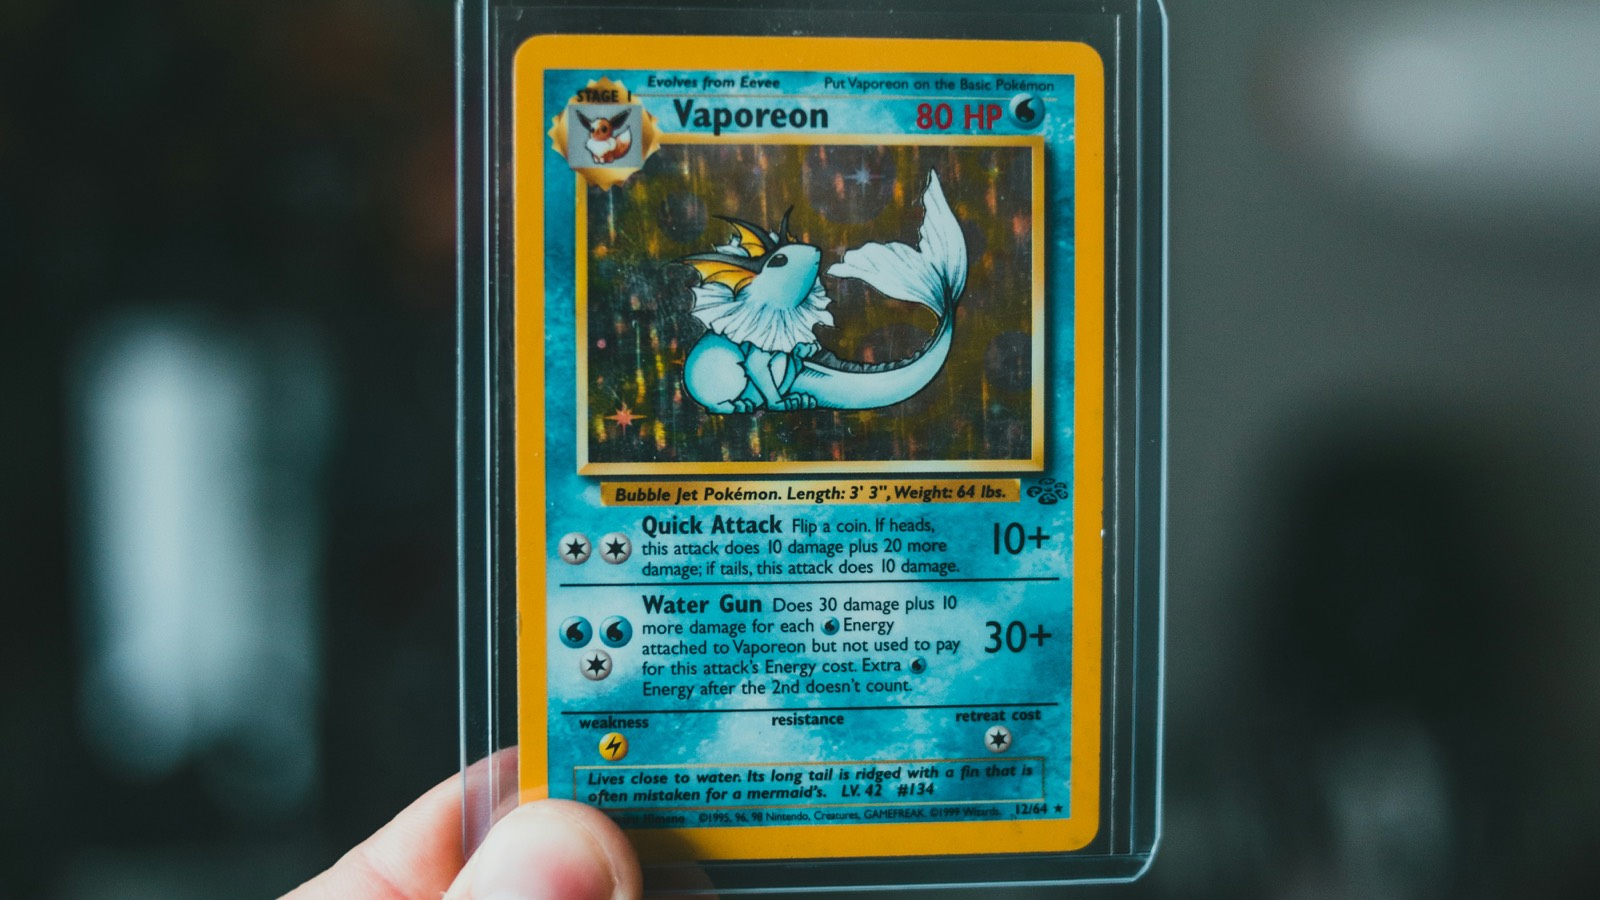
Every Pokemon card collector eventually faces the same dilemma: a growing stack of cards on the desk and a limited budget for protection. Not every card deserves a premium magnetic case, yet leaving valuable hits unprotected can destroy their condition and value. To build a sustainable collection, you must learn how to triage your cards by matching their physical condition and market value to the right level of storage.
Triaging is the process of quickly sorting, evaluating, and routing your cards into specific protection tiers. By establishing a clear system, you protect your best cards from wear, keep your bulk organized, and avoid overspending on storage supplies.
Here is a practical, step-by-step guide to triaging your Pokemon cards and making smart storage decisions.
1. Establish Your Triage Tiers
Before you start sorting physical cards, you need to define your storage tiers. A standard three-tier system works best for most collections, balancing maximum protection for high-value cards with cost-effective options for bulk.
- Tier 1: Premium Protection (The Top Shelves): Reserved for high-value hits, rare vintage cards, and cards in pristine condition that you want to preserve perfectly. These require individual sleeves and rigid holders.
- Tier 2: Binder Storage (The Portfolio): Designed for mid-value hits, complete set runs, and favorite holo cards. These are kept in protective pages for easy viewing and trading.
- Tier 3: Bulk Storage (The Archive): For common, uncommon, and duplicate cards that carry lower individual value. These are stored efficiently in bulk boxes to save space.
Using a reliable Pokemon card scanner during this initial phase helps you quickly identify the exact card version and set, ensuring you do not accidentally misidentify a rare parallel or promo before routing it to its tier.
2. Evaluate Physical Wear and Market Value
To place a card in the correct tier, you must evaluate both its physical condition and its market value. A pristine common card does not need a hard case, nor does a heavily damaged vintage card that you simply want to keep for sentimental reasons.
When inspecting raw cards, look closely at four key areas:
- Corners: Check for fraying, splitting, or white spots on the back corners.
- Edges: Look for silvering on the front or white chipping along the back borders.
- Surface: Inspect the foil under a bright light for scratches, cloudiness, or fingerprints.
- Centering: Note if the borders are unevenly printed, though this is less of a wear issue and more of a factory variance.
By checking estimated values with a Pokemon card price checker, you can combine condition with market context. If a card is in Near Mint condition and carries a high market value, it immediately earns a spot in Tier 1. If it shows moderate play or has a lower price tag, it is a perfect candidate for Tier 2.
3. Tier 1: Protecting Your Best Raw Cards
Cards designated for Tier 1 deserve a dual-layer defense system. The goal here is to prevent any physical contact with the card’s surface or edges during handling and storage.
To store Tier 1 cards properly:
- Use a Penny Sleeve First: Gently slide the card into a standard, acid-free penny sleeve. This soft plastic layer protects the delicate holographic surface from scratches.
- Insert into a Rigid Holder: Place the sleeved card into a clean toploader or a semi-rigid card holder. Always insert the card with the sleeve opening facing the bottom of the holder to prevent dust from entering.
- Store Vertically: Keep your toploaders stored vertically in a dedicated toploader box. Stacking them horizontally can put uneven pressure on the cards, potentially causing warping or surface indentations over time.
This setup keeps your most valuable assets completely safe from dust, moisture, and accidental drops while keeping them ready for potential grading or trading down the road.
4. Tier 2: Organizing Your Binder Collection
Binders are the heart of any active collection. They allow you to show off your favorite cards, track set completion progress, and browse your collection without risking damage. However, not all binders are created equal.
When selecting and loading a binder for Tier 2 cards, follow these best practices:
- Choose Side-Loading Pages: Side-loading pockets prevent cards from slipping out of the top of the page when the binder is carried or turned upside down.
- Insist on Acid-Free Materials: Ensure the pages are made of PVC-free polypropylene. Cheap vinyl pages can degrade over time, releasing chemicals that damage card surfaces.
- Sleeve Before Pocketing: Always put your cards in a penny sleeve or a perfect-fit sleeve before sliding them into a binder pocket. This adds an extra layer of protection against friction when sliding cards in and out.
- Avoid Overcrowding: Do not stuff multiple cards into a single pocket. This stretches the plastic, risks warping the cards, and makes them difficult to remove safely.
Keeping your binder records updated in a comprehensive Pokemon collection app helps you know exactly which binder holds which set, making it easy to find specific cards when you want to look at them or show them to others.
5. Tier 3: Managing Bulk and Played Cards Safely
Bulk cards make up the majority of most collections. While they do not require expensive individual holders, they still need to be stored in a way that prevents warping, dust accumulation, and physical damage.
For efficient bulk storage:
- Use Cardboard Storage Boxes: Standard multi-row cardboard boxes are the industry standard for a reason. They are inexpensive, sturdy, and sized perfectly for trading cards.
- Keep Cards Snug but Not Tight: Pack your cards closely enough so they do not lean or slide, which can cause warping. However, leave enough room to easily slide a finger in to pull out a stack without bending edges.
- Use Dividers: Label your boxes by set, type, or rarity using plastic or cardboard dividers. This saves you from digging through thousands of loose cards when searching for a specific common.
- Control the Environment: Store your bulk boxes off the floor in a climate-controlled room. Basements and attics are prone to humidity spikes, which can cause cards to curl and warp.
6. Integrating Digital Tracking with Your Physical Storage
An organized physical storage system is only half the battle. If you do not know what cards you own or where they are located, your triage system will eventually fall apart. Connecting your physical storage to a digital inventory makes managing your collection seamless.
When you scan a new card, assign it a digital tag or note indicating its physical location (e.g., "Binder A," "Toploader Box 1," or "Bulk Box 2024"). This simple step ensures that your digital records match your physical reality. When you need to find a card for a trade, check its condition, or verify your set progress, you can search your digital inventory first instead of digging through physical boxes.
For more expert tips on organizing, sorting, and protecting your growing collection, explore our latest articles on the PokeSnap blog.
Save Time and Protect Your Collection with PokeSnap
Triaging your collection is much easier when you have the right tools. With PokeSnap, you can scan your cards in seconds, instantly identify their set details, and view current market estimations to decide exactly which storage tier they belong in. Stop guessing at card values and start protecting your collection the smart way. Download PokeSnap today to simplify your triage routine and keep your cards safe for years to come.