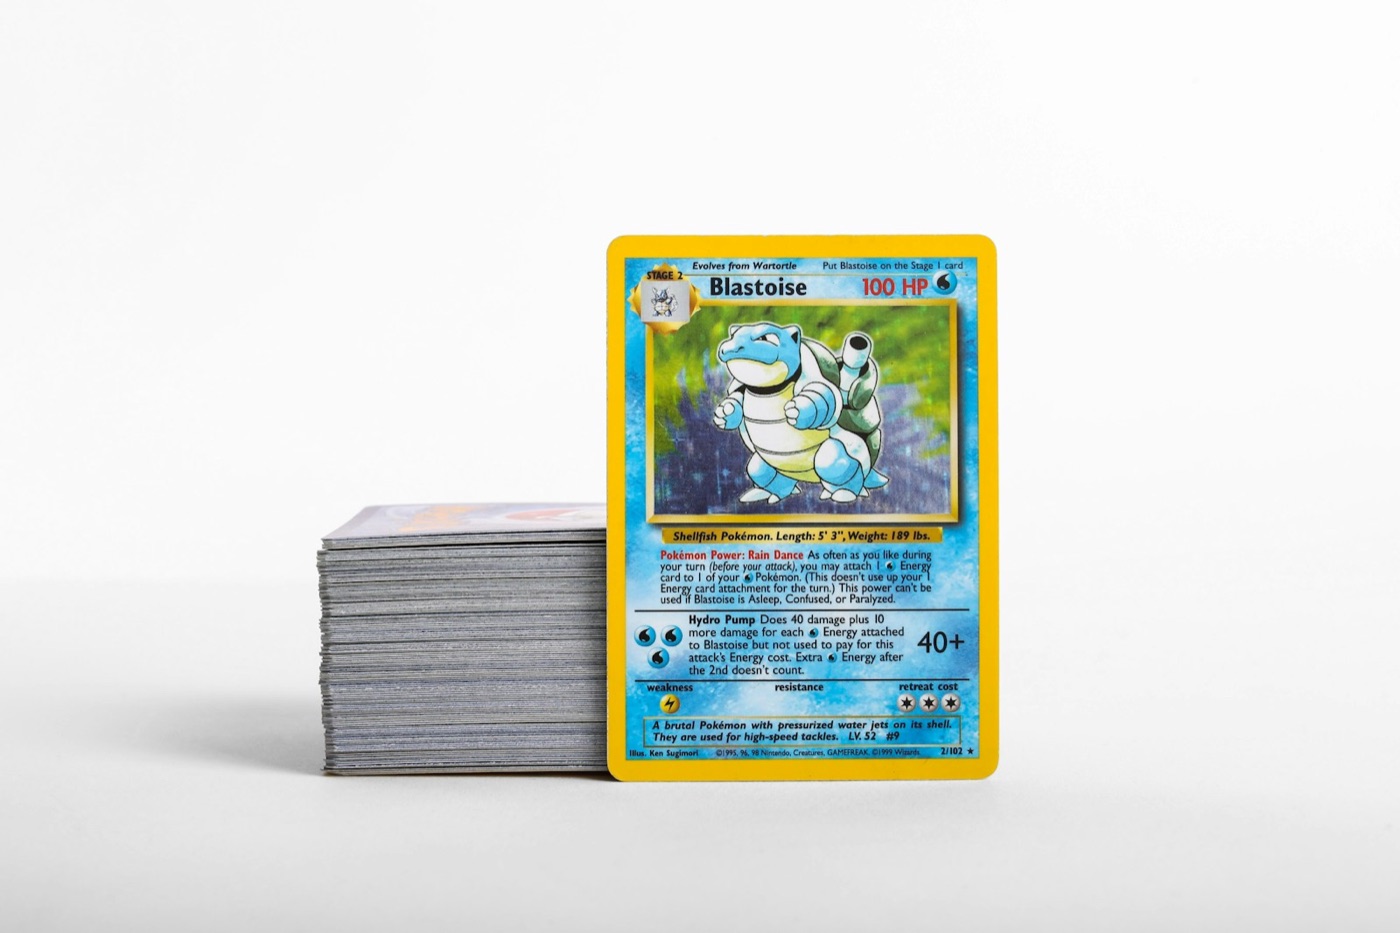
Every active Pokemon card collector knows the dread of the 'doom pile'—that growing stack of unsorted cards sitting on your desk, piled on top of an empty Elite Trainer Box, or scattered across your coffee table. It starts with a few packs opened on a Friday night, followed by a couple of mail day deliveries, and perhaps a handful of trades from a local league night. Before you know it, you have hundreds of cards in organizational limbo.
When your physical cards are in disarray, your digital inventory quickly falls out of sync. The secret to maintaining a beautifully organized collection isn't buying more storage boxes or spending hours manually typing card numbers into a spreadsheet. Instead, it is establishing a repeatable, physical-to-digital processing pipeline.
By using a physical zone-based inventory workflow, you can handle new cards efficiently, protect your most valuable hits immediately, and ensure your digital tracker always reflects what you actually own.
What is a Zone-Based Inventory Workflow?
A zone-based inventory workflow is a system that divides your physical workspace into distinct, functional areas. Instead of trying to sort, sleeve, scan, and file your cards all at once, you route every card through a series of dedicated 'zones' in a specific order.
This method prevents the mental fatigue that comes with decision-making during a sorting session. You no longer have to ask yourself 'Where does this go?' or 'Did I already scan this?' for every single card. Each card moves step-by-step through the pipeline, ensuring that no card is placed into permanent storage until it has been safely cataloged and sleeved.
To set this up, you only need a small amount of table space and a few simple organizational tools. Let's break down the three physical zones you need to establish.
Designing Your Three Physical Workspaces
You do not need a massive dedicated card room to run an efficient inventory pipeline. A standard desk or kitchen table works perfectly, provided you establish clear boundaries for your three zones:
- Zone 1: The Intake Tray (The Landing Zone): This is a physical container—such as a small plastic basket, an empty deck box, or a designated storage tray—where all incoming cards are placed. Nothing else goes here. It is the single entry point for every card that enters your home.
- Zone 2: The Processing Station (The Action Zone): This is a clean, flat surface equipped with a playmat to protect card surfaces. Keep your penny sleeves, toploaders, and a phone stand nearby. This is where you sort, evaluate condition, and scan your cards.
- Zone 3: The Archival Shelves (The Permanent Zone): This is the final destination for your organized collection. It houses your master set binders, trade binders, toploader boxes, and sorted bulk storage containers.
By keeping these zones physically separate, you eliminate the risk of mixing unsorted cards with your fully cataloged collection.
Step 1: The Intake Routine (Rules of Entry)
The golden rule of the zone-based workflow is simple: no card bypasses the Intake Tray.
Whether you just opened a booster box, received a bubble mailer from an online trade, or bought a handful of singles from a local shop, every raw card must land in Zone 1 first. Do not put new cards directly into your binders, and do not leave them loose on your desk.
By restricting all new arrivals to a single container, you protect your cards from accidental damage and ensure you never lose track of what needs to be cataloged. If a card is in the Intake Tray, you know with 100% certainty that it has not yet been scanned or filed away.
Step 2: Sorting and Tiering Before You Scan
When you are ready to process your Intake Tray, move the cards to your Processing Station (Zone 2). Before opening your digital collection tracker, perform a quick physical sort to divide the cards into three distinct tiers:
- Tier 1: High-Value Hits: Ultra-rares, secret rares, illustration rares, and vintage holos. These cards require immediate individual sleeve protection.
- Tier 2: Playable Uncommon/Common Cards: Holos, reverse holos, and key trainer cards that have utility in the current competitive game or hold modest collector interest.
- Tier 3: Standard Bulk: Common and uncommon cards, non-holo rares, and basic energy cards that will be stored in bulk boxes.
Sorting your cards into these tiers before you scan them makes the cataloging process incredibly fast. You can process your high-value hits with care, while moving through your playables and bulk at a much quicker pace.
Step 3: High-Speed Digital Scanning
With your cards sorted into tiers, it is time to digitize them. Manually typing set numbers and names is the fastest way to burn out on organizing. Instead, use a dedicated Pokemon card scanner to identify each card in seconds.
Place your phone on a stand over your playmat to ensure a stable, shadow-free image. Scan your Tier 1 hits first. As you scan, use a reliable Pokemon card price checker to verify the card's current market value. This helps you make informed decisions about which cards require premium protection, such as a double-sleeve or a rigid toploader.
If you collect international sets, make sure your scanning tool is versatile enough to scan Japanese Pokemon cards with the same speed and accuracy as English prints. Once your hits are logged, scan your Tier 2 playables, and decide whether to log your Tier 3 bulk or simply track it as a bulk quantity.
Step 4: Routing to Final Storage
Once a batch of cards has been scanned and saved to your digital Pokemon collection app, they are ready to leave Zone 2 and enter Zone 3 (Archival Storage). Route your sorted tiers to their permanent homes:
- Tier 1 Hits: Place these into your dedicated trade binders, master set binders, or toploader storage boxes. Because they are already scanned, your digital inventory now perfectly mirrors their physical location.
- Tier 2 Playables: File these into a playables binder or a sorted row box divided by card type (Trainer, Energy, Pokemon Type) so they are easy to pull when building decks.
- Tier 3 Bulk: Store these in multi-row cardboard boxes, sorted by set or rarity, for future bulk trading or selling.
Once Zone 2 is clear, your physical cards are safely stored away, and your digital collection is completely up to date.
The Weekly Reset Routine
To prevent your Intake Tray from overflowing, establish a weekly reset routine. Set aside 15 to 20 minutes every Sunday to process whatever has accumulated in Zone 1.
If you let cards sit in the Intake Tray for months, the pile will become intimidating, and you will be tempted to abandon the system. A quick weekly sweep keeps the task manageable, ensures your digital price tracking remains accurate, and keeps your binders looking pristine.
Streamline Your Inventory with PokeSnap
An organized collection brings peace of mind and makes trading, buying, and building decks infinitely more enjoyable. By implementing a physical zone-based workflow, you take the friction out of cataloging and protect your hard-earned cards from clutter and wear.
To make your physical-to-digital transition as seamless as possible, use PokeSnap. With its high-speed camera scanner, instant set identification, and robust collection tracking tools, PokeSnap is the ultimate companion for your processing station. Download PokeSnap today on iOS or Android and turn your unsorted piles into a perfectly cataloged digital gallery.