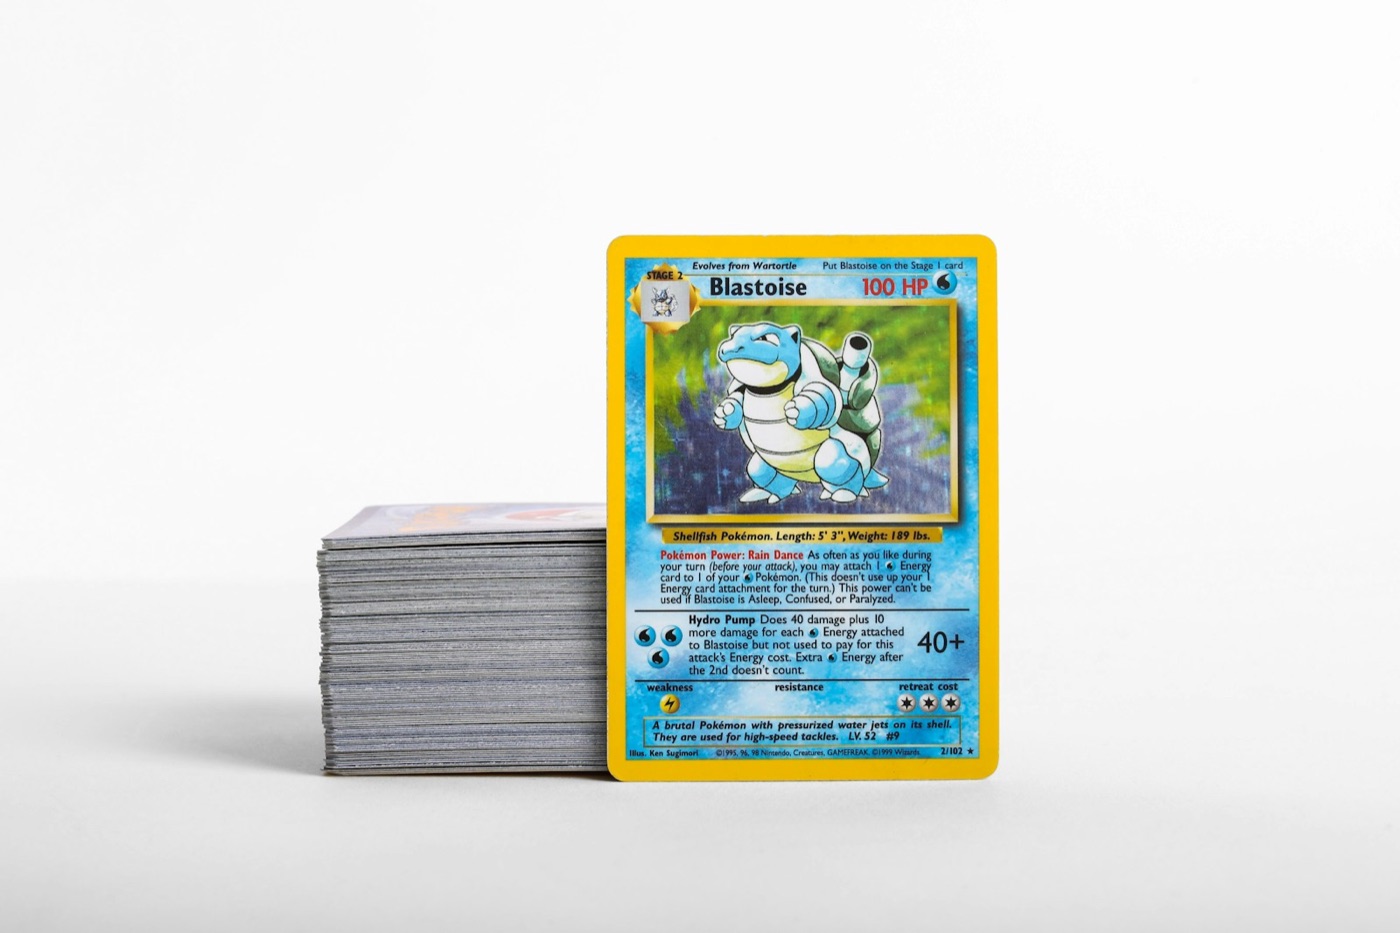
Every Pokemon card collector eventually faces the same challenge: the physical pileup. Whether you are opening booster boxes on release day, sorting through a trade night haul, or cataloging a vintage collection you found in the attic, cards quickly accumulate into unorganized stacks. Without a structured system, your collection becomes difficult to navigate, duplicates slip through the cracks, and valuable cards risk sitting unprotected.
To keep your collection manageable, you need a repeatable inventory workflow. A good workflow bridges the gap between physical organization and digital tracking, saving you hours of manual entry.
Here is a step-by-step guide to building a highly efficient Pokemon card inventory workflow that keeps your collection organized, secure, and easy to browse.
1. Stage 1: The Intake Zone
Before you start scanning or filing cards away, you must establish a dedicated "Intake Zone." This is a clean, flat work surface free of food, drinks, and dust.
When new cards arrive—whether from mail days, pack openings, or local purchases—do not immediately mix them into your existing binders or storage boxes. Instead, place them in your Intake Zone.
- Inspect and Dust: Gently wipe down your workspace. Ensure your hands are clean and dry.
- Initial Sort by Category: Group your new arrivals into rough categories before you open any tracking tools. Sorting by set, rarity, or card type (e.g., Ultra Rares, Holos, Reverse Holos, and Bulk) makes the next steps much faster.
- Prepare Your Supplies: Keep a stack of penny sleeves, top loaders, and your mobile device nearby. Having your physical protection ready ensures cards are protected the moment they are cataloged.
2. Stage 2: Scanning and Digitizing Your Cards
Once your cards are sorted into neat stacks, it is time to digitize them. Manually typing card names, set numbers, and rarities into a spreadsheet is a recipe for fatigue. Utilizing a mobile Pokemon card scanner is the fastest way to build an accurate digital inventory.
To get the best results from your scanning session, follow these best practices:
- Optimize Your Lighting: Avoid harsh, direct overhead lights that create glare on glossy card surfaces. Diffused, natural light or a desk lamp pointed slightly away from the card works best.
- Use a Contrasting Background: Place raw cards on a dark, non-reflective surface (like a black playmat). This helps the scanner identify the card edges instantly.
- Batch Your Scanning: Scan your cards in the pre-sorted groups you created in Stage 1. For example, scan all your ultra rares first, then your reverse holos. If you collect international releases, you can also easily scan Japanese Pokemon cards using the same batching method to keep your imports organized separately.
3. Stage 3: Verification and Condition Tagging
Even the most accurate scanner requires a quick human verification step. As you scan each card into your Pokemon collection app, take a brief moment to confirm the details on your screen.
- Verify the Variant: Ensure the app has captured the correct printing. Double-check whether the card is a standard holo, reverse holo, or a specific promo printing.
- Assign a Condition Tier: Note the physical condition of the card in your digital record. Use standard industry terms like Near Mint (NM), Lightly Played (LP), Moderately Played (MP), or Heavily Played (HP). Recording this now prevents you from having to pull the card out to inspect it again later.
- Check the Value Context: Use a built-in Pokemon card price checker during this step to flag high-value hits. This helps you identify which cards require premium protection (like magnetic cases or top loaders) and which can be stored in standard binder pages.
4. Stage 4: Physical Protection and Storage Allocation
With your cards scanned and verified, you can now move them to their permanent physical homes. Your digital records should mirror your physical storage system so you can find any card in seconds.
Create a clear tier system for your physical storage:
- The Binder Tier (Set Completion & Favorites): This is for your main sets, favorite artwork, and mid-range hits. Organize these binders by set list order or card type.
- The Top Loader Box Tier (High-Value Singles): Cards that carry significant value or are potential grading candidates should go straight into a penny sleeve, a top loader, and a dedicated top loader storage box.
- The Bulk Box Tier (Commons, Uncommons, and Energies): Low-value cards belong in clean, acid-free cardboard storage boxes. Sort them by set or type so you can easily pull cards if you decide to build a deck or sell bulk lots later.
5. Stage 5: Maintaining and Auditing Your Inventory
An inventory system is only as good as its maintenance. If you trade away a card or sell a duplicate but forget to update your records, your digital database will quickly drift from reality.
Establish these simple habits to keep your inventory accurate:
- The "One-In, One-Out" Rule: Whenever you trade, sell, or mail a card, delete or archive it from your digital collection immediately. Do not wait until the end of the month.
- Perform Monthly Micro-Audits: Pick one binder or one storage box each month and compare its physical contents to your digital records. This small habit prevents major discrepancies from building up over time.
- Keep a Digital Backup: Ensure your collection tracker saves your data securely to the cloud. Having a reliable digital backup protects your hard work if you ever upgrade or lose your phone.
Build Your Workflow with PokeSnap
Streamlining your Pokemon card inventory workflow does not require complicated spreadsheets or hours of manual data entry. With PokeSnap, you can scan cards in seconds, instantly identify printings, check price trends, and organize your entire collection in one clean mobile app.
Whether you are managing a massive master set or just starting your collecting journey, PokeSnap makes inventory management simple, fast, and accurate. Download PokeSnap today and take control of your collection.