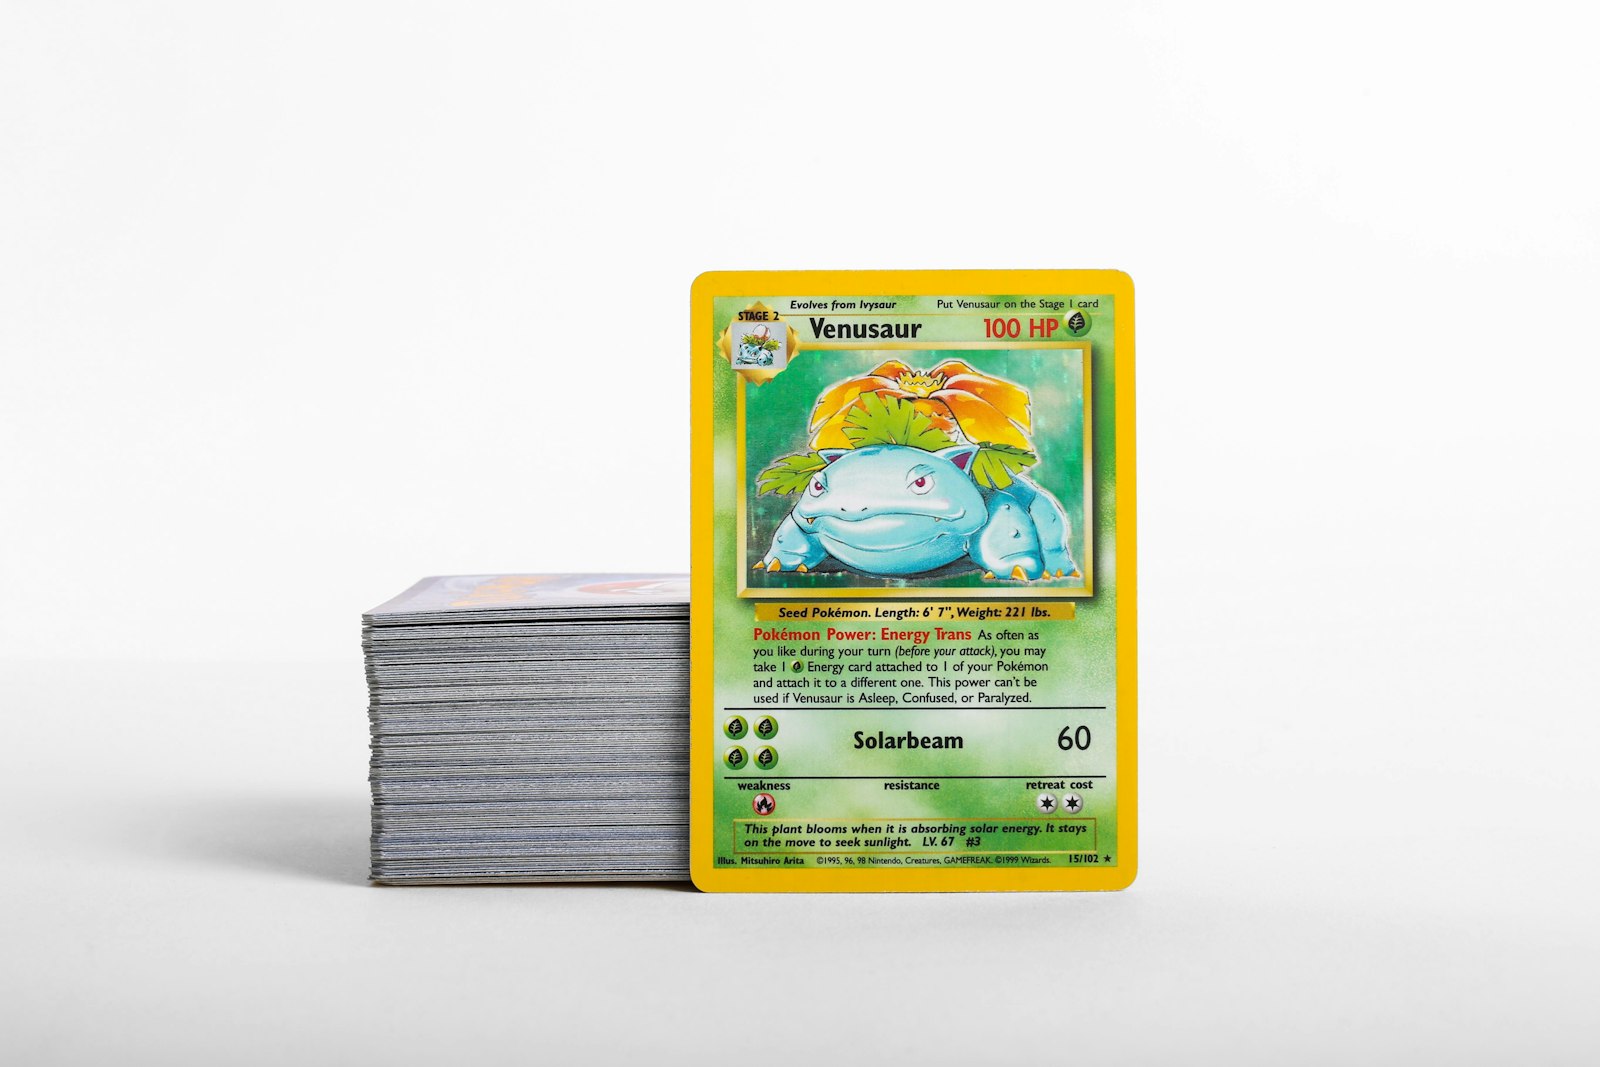
Every Pokemon collector eventually faces the same dilemma: a growing stack of raw cards sitting on a desk, waiting to be sorted, protected, and put away. If you protect every single card in a premium hard case, you will quickly run out of space and overspend on supplies. If you throw everything into a loose cardboard box, you risk turning valuable holos into scratched, bent, and devalued cards.
To build a sustainable collection, you need a systematic routing plan. By evaluating a card's physical condition and market value immediately after opening a pack or acquiring a new single, you can route it to the exact tier of protection it deserves. This approach keeps your best cards pristine, your binder clean, and your storage budget under control.
1. The Three Pillars of Raw Card Inspection
Before you can decide where a card belongs, you must inspect its physical condition. Even pack-fresh cards can carry minor factory defects that influence how you should store them. When holding a raw card, focus on three primary areas under a bright, direct light source:
- The Edges: Look at the blue border on the back of the card. Check for tiny flecks of white paper showing through (whitening) or rough cuts from the factory. Rough edges are highly susceptible to further fraying if slid in and out of tight pockets.
- The Corners: Inspect the four rounded corners for small dings, layers separating (splitting), or soft, bent tips. Clean corners require careful handling to prevent folding during the sleeving process.
- The Surface: Tilt the card under your light to check for faint hairline scratches, silvering on the front borders, print lines, or fingerprints. Holofoil surfaces are incredibly soft and scratch easily from dust particles trapped inside cheap storage formats.
Once you identify these flaws, you can accurately categorize the card's current state and determine how much physical shielding it needs to prevent further wear.
2. Establish Your Protection Tiers
To keep your physical storage organized, group your protective gear into four distinct tiers. Each tier offers a different balance of physical safety, space efficiency, and cost.
#### Tier 1: Bulk Storage (No Sleeves or Penny Sleeves Only) This tier is for common, uncommon, and non-holo rare cards that hold minimal market value. These cards are stored in bulk boxes (such as cardboard monster boxes). While you do not need to individual-sleeve these, keeping them snug—but not tightly compressed—prevents them from sliding around and causing edge friction.
#### Tier 2: The Binder Tier (Penny Sleeve + Binder Pocket) This is the sweet spot for the majority of your collection, including standard holos, reverse holos, and low-to-mid range rare cards. Always place the card in a standard penny sleeve before sliding it into a side-loading binder page. The sleeve protects the delicate face of the card from friction against the plastic binder pocket.
#### Tier 3: The Rigid Tier (Penny Sleeve + Top Loader or Semi-Rigid) For highly collectible hits, classic vintage cards, or cards you plan to keep in raw, unplayed condition, use a rigid top loader or a semi-rigid holder. The soft penny sleeve prevents surface scratches, while the outer rigid plastic prevents the card from bending, taking corner impact, or getting crushed under physical pressure.
#### Tier 4: Premium Hard Cases (Perfect Fit + Magnetic Case) Reserved for your absolute favorite cards or high-end treasures. A magnetic one-touch case provides maximum physical display utility and heavy-duty armor. When using these, consider a perfect-fit sleeve designed for hard cases to ensure the card does not shift inside the recess.
3. Balance Value and Wear to Choose Your Tier
Condition alone does not dictate storage; you must also weigh the card's market value. A heavily damaged vintage card might still deserve a top loader because of its historical significance, while a pack-fresh modern common card is perfectly safe in a bulk box.
Use a reliable pokemon card price checker to establish a baseline value for your card. Once you know the value range, apply this simple decision matrix:
- Value under $1: Route to Tier 1 (Bulk storage). If it is a favorite art or a reverse holo needed for a set, route to Tier 2 (Binder).
- Value between $1 and $15: Route to Tier 2 (Sleeved in a side-loading binder). This keeps your collection highly visual and organized while protecting the cards from dust and light handling.
- Value between $15 and $100: Route to Tier 3 (Top loader or semi-rigid holder). These cards represent significant value and should be protected against any risk of bending or surface rubbing.
- Value over $100 (or highly sentimental): Route to Tier 4 (Premium magnetic case or dedicated safe storage).
4. The Step-by-Step Intake and Routing Workflow
To prevent unsorted piles from taking over your desk, process your cards in batches using a structured intake routine.
[Raw Card Stack]
       │
       ▼
[1. Scan & Identify] ──► Use a scanner app to log the exact print/set
       │
       ▼
[2. Inspect Flaws] ───► Check edges, corners, and surface under light
       │
       ▼
[3. Check Value] ─────► Compare current market range
       │
       ▼
[4. Assign Tier] ─────► Route to Bulk, Binder, Top Loader, or Hard Case- Scan and Identify: Before touching your storage supplies, use a mobile pokemon card scanner to instantly identify the exact card variant, set symbol, and print run. This ensures you do not mistake a valuable parallel foil for a standard copy.
- Inspect and Clean: Lay the card on a clean, soft playmat. Gently blow away any loose dust. If you spot fingerprints on a glossy surface, use a clean microfiber cloth to lift them before sealing the card in plastic.
- Sleeve and Route: Slide the card into its designated sleeve. If routing to a binder, insert it gently to avoid catching the corners on the pocket edge. If routing to a top loader, let the card slide in naturally without forcing it; forcing a tight fit can damage the top edge.
- Digitize the Location: Open your pokemon collection app and update the card's entry to reflect its physical location (e.g., "Binder 3, Page 4" or "Top Loader Box A"). This step saves you hours of searching when you want to trade, sell, or simply admire the card later.
5. Environmental Storage Best Practices
Even the best sleeves and hard cases cannot protect your cards if your physical storage environment is poor. Paper and foil react dynamically to temperature and moisture. Keep your binders and storage boxes in a climate-controlled room, off the floor, and away from direct sunlight.
Foil cards are particularly vulnerable to humidity, which causes them to curl either forward or backward. Maintaining a stable environment prevents this warping, ensuring your raw cards stay flat and clean inside their protective layers. If you store cards in plastic bins, consider tossing in a small, food-safe silica gel packet to absorb any trapped moisture.
6. Keep Your Physical and Digital Collections in Sync
A physical routing system is only as good as your records. When you move a card from a binder to a top loader, or swap a duplicate out of your collection, take five seconds to update your digital inventory. By maintaining a clean digital record of your card's condition and physical storage location, you can manage your collection with confidence and spend more time enjoying the hobby.
To make this process effortless, use PokeSnap. The PokeSnap app lets you scan your cards to identify them instantly, check up-to-date market values, and catalog your entire collection digitally so you always know exactly what you own and where it is stored. Download PokeSnap today to streamline your card intake and protect your collection like a pro.