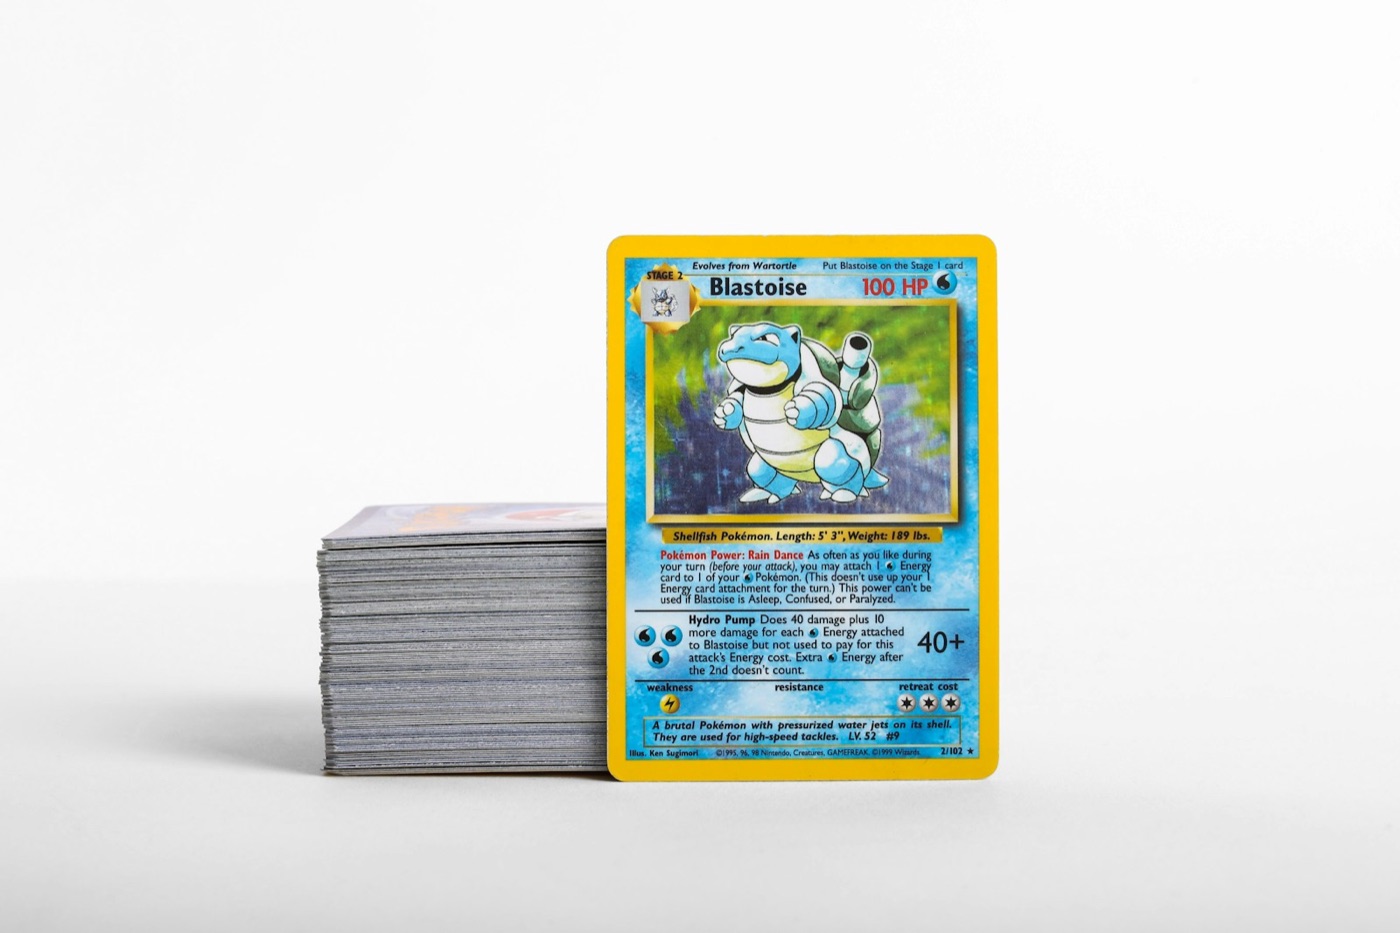
Every collector knows the feeling: a plastic tub, a cardboard box, or a desk corner piled high with loose, unsorted cards. Whether it is the aftermath of a massive booster box opening, a local card show haul, or a bulk collection purchase, an unsorted backlog can quickly become a heavy mental burden. It hides valuable hits, leaves duplicates untracked, and makes finding specific cards for trades or decks nearly impossible.
The secret to conquering this mess isn't working faster; it is building a repeatable, step-by-step physical-to-digital inventory pipeline. By separating physical sorting from digital cataloging, you can turn a chaotic pile of cards into a perfectly organized collection in a fraction of the time. Here is how to conquer your Pokemon card backlog and keep your storage permanently in sync with your digital records.
Phase 1: The Rough Physical Pre-Sort
Before you open any app or pull out a single binder, you must organize your cards physically. Trying to scan and file cards one by one directly from a chaotic, mixed pile is incredibly inefficient. It forces your brain to constantly switch tasks—inspecting, scanning, sleeving, and filing—which slows down your momentum.
Instead, start with a rough "pre-sort" to divide your backlog into logical physical categories. Lay out a clean, flat surface and sort your cards into three main stacks:
- High-Value Hits: Ultra rares, secret rares, illustration rares, and vintage holographic cards. These deserve immediate sleeving and will eventually go into binders or protective cases.
- Reverse Holos and Holos: Mid-tier cards that require careful tracking for set completion but might not need immediate rigid top loaders.
- Common and Uncommon Bulk: Standard non-holo cards, trainers, and basic energy cards.
Once separated, sort each category further. For modern sets, grouping cards by set (using the set symbol in the bottom corner of the card) or by type (Grass, Fire, Water, etc.) makes the subsequent steps much faster. Grouping by set is especially helpful if your ultimate goal is set completion.
Phase 2: Setting Up Your Scanning Station
A messy workspace leads to damaged cards and double-scanned duplicates. Before you begin cataloging, clear your desk and set up a dedicated scanning station designed for efficiency.
- Lighting: Ensure your station is lit by bright, indirect natural light or a neutral LED desk lamp. Avoid direct, harsh spotlights that cause intense glare on holographic foil, as this can interfere with image recognition.
- Surface: Use a clean, soft playmat. This protects the back corners and edges of raw cards from getting scratched or chipped on hard wood or plastic desks.
- Tools: Keep penny sleeves, top loaders, and a card-sorting tray within arm's reach. Set your phone or tablet on a stable stand if you prefer hands-free scanning.
Having a dedicated space means you can quickly move a card from the unsorted stack, pass it through your camera, and place it directly into its designated storage container without shifting your posture or searching for supplies.
Phase 3: The Scanning and Cataloging Workflow
Once your station is ready and your cards are pre-sorted, it is time to build your digital archive. Doing this manually with a spreadsheet is a recipe for fatigue. Instead, utilizing a high-quality Pokemon card scanner allows you to capture set numbers, rarities, and variants instantly.
To keep your physical stacks aligned with your digital records, follow a strict "Scan and Stack" pattern:
- Work in Small Batches: Grab a stack of 20 to 30 pre-sorted cards. Working in small batches prevents errors from compounding.
- Scan Sequentially: Scan each card one by one, verifying that the digital match matches the physical card in your hand (especially looking out for reverse holo variants versus standard prints).
- Log to a Temporary List: Save these scans to a dedicated "Inbox" folder or temporary list in your Pokemon collection app. Do not worry about permanent folder placement just yet.
- Move to the Completed Pile: Place the scanned card face down in a "completed" pile. Once the batch is done, move the entire stack to its physical storage destination.
By working in small, controlled batches, you ensure that if you get distracted or interrupted, you know exactly which cards have been logged and which ones are still waiting.
Phase 4: Running a Fast Price and Condition Check
An inventory record is only as useful as the data attached to it. While scanning, you should also note the physical condition of your cards and check their market context.
- Condition Assessment: Quickly inspect the front and back of each card for edge whitening, silvering, scratches, or surface wear. Assign a standard condition tier (such as Near Mint, Lightly Played, or Moderately Played) in your digital log.
- Value Context: Use a reliable Pokemon card price checker to view current market comps. Knowing the general value tier of a card helps you make immediate storage decisions.
Based on the value and condition, triage your cards into three protective tiers:
- Tier 1 (Under $1): Place directly into bulk storage boxes or secondary trade binders.
- Tier 2 (Between $1 and $10): Place in a penny sleeve and file into set binders.
- Tier 3 (Over $10): Double-sleeve or place in a top loader for maximum protection.
By executing this triage during the scanning phase, you prevent valuable cards from accidentally slipping into bulk boxes where they could suffer avoidable wear.
Phase 5: Final Filing and Storage
The final step of the pipeline is transitioning your scanned, categorized cards to their permanent physical homes.
- Set Binders: If you are working on a master set, place your newly scanned cards directly into their designated slots. Use placeholders for cards you are still missing to keep the pages structured.
- Trade Binders: Group trade-eligible cards by rarity, type, or value so they are easy to browse during local trade nights.
- Bulk Boxes: Store common and uncommon bulk in acid-free cardboard boxes (such as 3,200-count monster boxes). Label each box clearly with the sets included and whether they have already been digitized.
Once the physical cards are filed, move the digital records from your temporary "Inbox" folder in your tracker app to their permanent digital folders (such as "My Master Set," "Trade Binder," or "Bulk Storage"). This keeps your physical storage and digital tracker in perfect harmony.
Maintaining a Zero-Backlog Routine
Conquering a massive backlog is a great victory, but the real secret to stress-free collecting is preventing the backlog from reforming. Implement these simple habits to keep your inventory clean:
- The Mail Day Rule: Never let a new card package sit unopened or unlogged for more than 48 hours. Scan and file new arrivals immediately.
- Post-Opening Cleanup: After ripping packs, immediately separate hits, reverse holos, and bulk. Scan the hits before you throw away the empty booster wrappers.
- Monthly Audits: Spend 15 minutes at the end of every month verifying that your physical binders match your digital collection app records.
By maintaining this pipeline, you will always know exactly what cards you own, what you need, and what your collection is worth without ever having to face a mountain of unsorted cardboard again.
Ready to turn your pile of cards into a clean, searchable, and organized digital inventory? Download PokeSnap today to scan your cards, track your collection, and manage your inventory with ease.