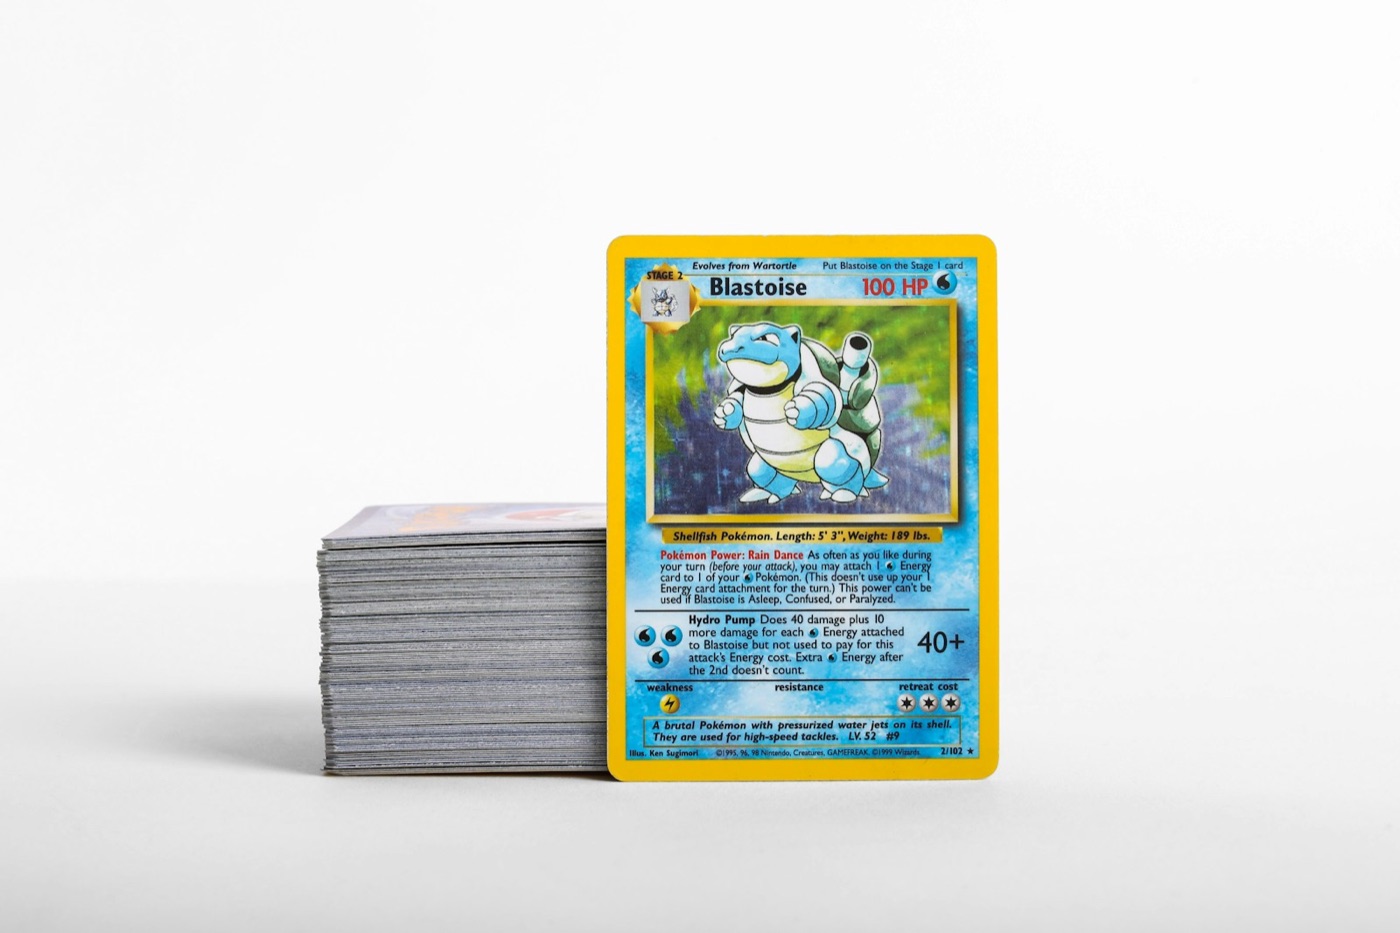
Every active collector knows the feeling of returning home from a trade night, mail day, or fresh pack opening only to drop a pile of unsorted cards onto a desk. Without a structured intake routine, those loose stacks quickly turn into overwhelming clutter. Cards sit unprotected, duplicate counts get messy, and your digital inventory falls out of sync with your physical storage.
Building a dedicated Pokemon card intake station solves this problem before it starts. By setting up a dedicated desk space with the right protective supplies and establishing a repeatable routing pipeline, you can process incoming cards safely and log them in minutes.
Why Every Active Collector Needs a Dedicated Intake Station
When new cards enter your collection without an intake protocol, chaos follows. You might accidentally order a duplicate hit because your digital binder was never updated, or leave a valuable reverse holo exposed to dust on an open table.
An intake station acts as a airlock for your collection. Nothing goes into your permanent binders or storage boxes until it passes through three essential steps:
- Physical Inspection: Checking corners, edges, and surface finish under clear lighting.
- Immediate Protection: Fitting raw cards with appropriate penny sleeves or top loaders.
- Digital Cataloging: Logging set numbers, print variants, and conditions using a high-speed Pokemon collection app.
Having a permanent or easy-to-deploy desk setup makes collection management effortless rather than a chore.
Essential Physical Gear for Your Sorting Desk
Your intake desk does not need to be huge, but it must be functional and clean. Setting up your surface correctly prevents physical wear such as corner dings or micro-scratches during sorting.
- Playmat or Felt Desk Pad: Never slide raw cards across bare wood or plastic desks. A clean playmat provides a soft surface for picking up singles.
- Adjustable Task Lamp: Soft, bright LED lighting helps you catch subtle print lines, whitening, or surface indentation before routing cards into storage.
- Color-Coded Sorting Trays: Dedicated trays or acrylic dividers keep raw cards segregated by intake stage (Unsorted, Sleeved, Digital Log, Final Storage).
- Sleeve Stand & Storage Bins: Keep penny sleeves, semi-rigid holders, top loaders, and binder pages within arm's reach so protection is applied instantly.
The Four-Stage Routing Workflow: From Raw Stack to Final Binder
To move cards through your desk efficiently, run every new batch through a four-stage intake pipeline. This process works equally well for 5 new single cards or 100 pack pulls.
[Stage 1: Raw Intake] ──> [Stage 2: Inspect & Sleeve] ──> [Stage 3: Mobile Scan & Log] ──> [Stage 4: Archival Routing]Stage 1: Raw Intake & Desk Prep
Clear your playmat of non-essential items. Lay out all incoming raw cards face up in a single stack or row. Keep food, drinks, and unwashed hands away from the workspace.
Stage 2: Inspection and Immediate Sleeving
Pick up each card by its edges. Inspect the surface for foil wear or corner touches. Immediately slide high-value cards, alternate arts, and ultra rares into penny sleeves. Place hit-tier singles into top loaders or rigid holders. Standard commons and uncommons can move straight to clean bulk stacks.
Stage 3: Digital Scanning and Inventory Update
Once cards are sleeved, update your records. Using a dedicated Pokemon card scanner allows you to capture card numbers, expansion sets, and rarity variants in seconds without typing manual set lists.
Stage 4: Archival File Routing
With digital records updated, route physical cards directly to their permanent locations:
- Master set hits move to binder sleeves.
- High-end chase cards and grading candidates go into storage boxes.
- Duplicate hits move into trade binders.
- Commons/Uncommons slot into set-ordered storage boxes.
Mobile Scanning Best Practices During Intake
Digital cataloging can become a bottleneck if you rely on manual searching. Modern image recognition tools let you scan entire stacks in rapid succession.
To ensure maximum scanner accuracy while processing a batch:
- Use Flat Lighting: Position your desk lamp at a 45-degree angle to avoid bright glare spots on glossy holos.
- Hold the Phone Steady: Keep your mobile camera parallel to the card face.
- Scan Before Top Loading: While top loaders add great protection, heavy plastic frames or scratched exterior sleeves can introduce reflection issues. Scan raw cards right after inserting them into a clear penny sleeve.
If you frequently process international printings, knowing how to scan Japanese Pokemon cards correctly ensures set numbers and subset tags are recorded accurately alongside English releases.
Cataloging Condition and Acquisition Context
An accurate inventory record consists of more than just a list of card names; it should reflect exact condition details and realistic market value. When logging items at your intake desk, take a brief moment to tag key parameters:
- Condition Tier: Record baseline condition (Near Mint, Lightly Played, Moderately Played) based on edge wear or surface scratches.
- Acquisition Cost & Source: Record what you paid or traded for the single. This builds an accurate cost basis over time.
- Market Reference: Checking current sold data via a Pokemon card price checker gives you a clear valuation anchor before moving cards into long-term holding.
Managing Japanese and English Printings in One System
Many modern collectors maintain hybrid collections featuring both English and Japanese releases. Because set numbering systems and reverse foil patterns differ between languages, keeping them separated visually at your intake desk prevents organization errors.
- Separate Trays: Keep English and Japanese intake stacks in distinct tray slots.
- Binder Partitioning: Decide beforehand whether Japanese variants sit next to English cards in your binder layouts or live in dedicated language binders.
- Tagging: Ensure your digital tracker tags the exact language region so market pricing feeds remain accurate.
Weekly Desk Cleanout: Preventing Intake Backlogs
The ultimate goal of an intake station is keeping your workspace completely clear between collection sessions. Never allow sorted piles to sit on your desk for more than 24 hours.
At the end of every week:
- Verify all scanned items appear in your main collection app dashboard.
- Transfer all sorted bulk boxes to your primary closet shelves or storage rack.
- Wipe down your sorting playmat with a dry microfiber cloth to remove dust and debris.
- Restock penny sleeves and top loaders for the next intake batch.
Streamline Your Collection Workflow with PokeSnap
A great physical desk setup is only half the battle—you also need a mobile tool that makes logging fast, seamless, and reliable. PokeSnap turns your phone camera into a powerful card scanner and collection manager built specifically for Pokemon TCG collectors.
Simply point your camera at any raw or sleeved card to identify set names, card numbers, and variant details in an instant. Track set completion progress, monitor collection value trends, and maintain precise physical-to-digital alignment without spreadsheet headaches. Download PokeSnap today to clean up your intake workflow!