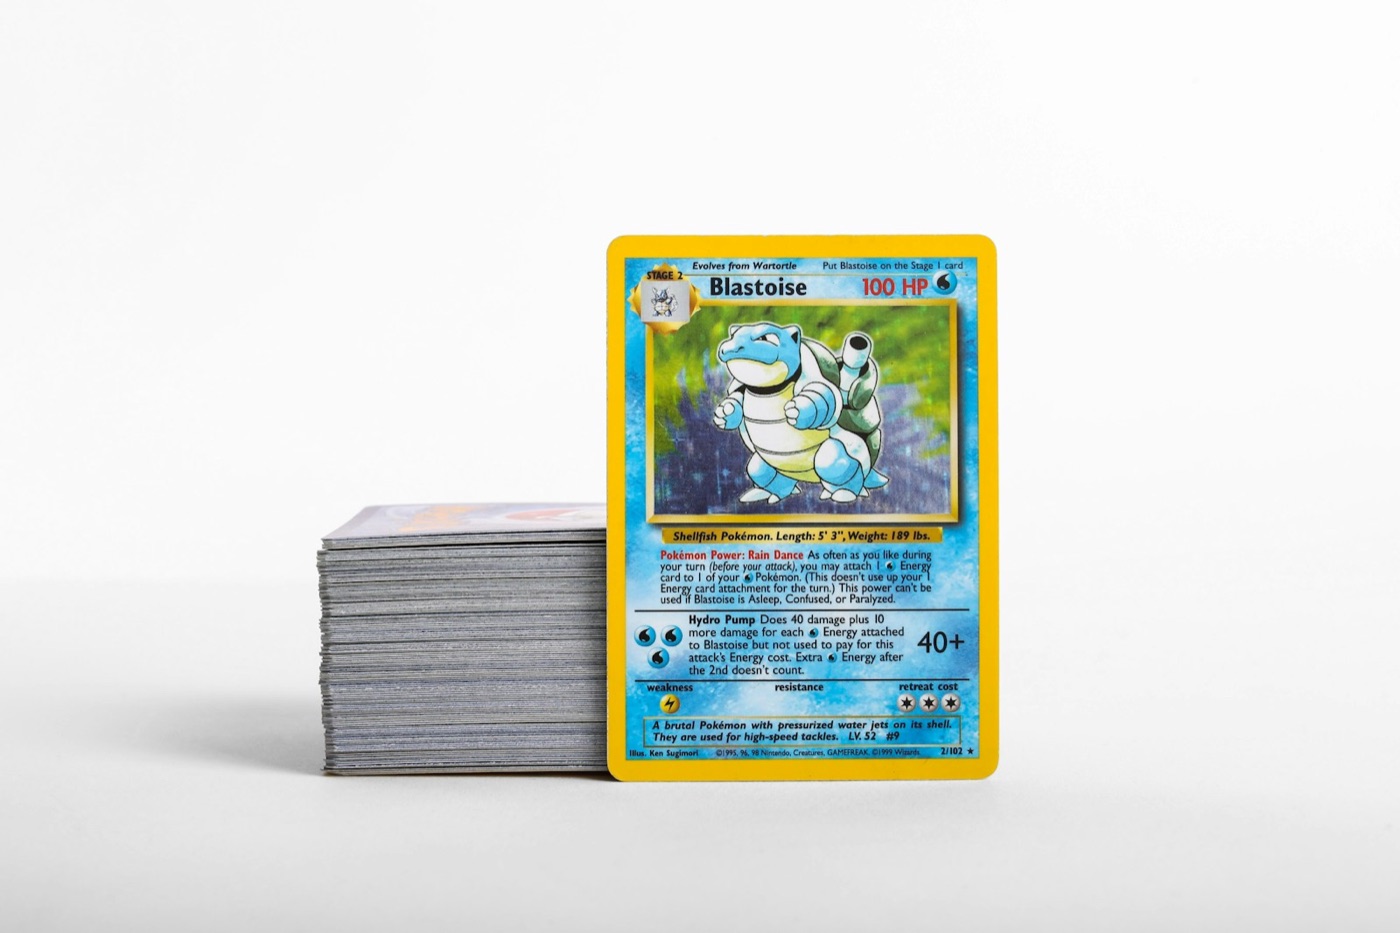
Every collector knows the feeling of a "to-be-sorted" pile that slowly takes over a desk, a shelf, or an entire room. It starts with a few packs opened on release day, grows with a couple of trade night pickups, and balloons after a bulk mail delivery.
Without a structured intake process, your physical collection and your digital records will inevitably fall out of sync. An intake process is simply a repeatable workflow designed to move new acquisitions from raw, unsorted stacks into their permanent, protected storage locations while updating your digital inventory.
By establishing a clear, step-by-step pipeline, you can eliminate the stress of messy piles, protect your cards from avoidable wear, and ensure every card is accurately accounted for in your Pokemon collection app. Here is how to build a scalable intake process from scratch.
1. Establish Your Physical Intake Zone
Before you open a single pack or unpack a mail day delivery, you need a dedicated workspace. Trying to sort and inventory cards on a cluttered coffee table or in a cramped space leads to misplaced cards, bent corners, and skipped steps.
Your physical intake zone should include:
- A Clean, Flat Surface: A large desk or table cleared of food, drinks, and clutter. Use a clean, lint-free playmat or desk mat to protect raw cards from scratches.
- The Staging Box: A designated temporary container (like an empty Elite Trainer Box or a small plastic tray) where all new, unsorted arrivals live. Nothing stays loose on the desk.
- Protection Supplies: A stock of penny sleeves, perfect-fit sleeves, top loaders, and binder pages kept within arm's reach.
- Consistent Lighting: A bright, overhead light or desk lamp to help you clearly see print lines, surface scratches, and set details during inspection.
By keeping your staging box as the single entry point for all new cards, you prevent raw cards from scattering across your home.
2. Phase 1: Triage and Initial Sorting
When a new batch of cards arrives in your staging box, do not immediately try to scan, sleeve, and file them one by one. This micro-management approach is highly inefficient and breaks your focus. Instead, practice batch processing by triaging your cards first.
Empty your staging box onto your playmat and sort the cards into three distinct physical piles:
- The Bulk Pile: Common, uncommon, and non-holo rare cards. These generally require minimal protection and will eventually go into bulk storage boxes.
- The Holo & Variant Pile: Reverse holos, standard holos, and low-end promo cards. These require basic sleeve protection and are often filed by set or kept in trade binders.
- The Hit Pile: Ultra-rares, secret rares, illustration rares, and high-value vintage cards. These are your priority cards that require immediate, premium protection and detailed digital tracking.
Sorting first allows you to apply the appropriate level of care and speed to each group during the next phases of your workflow.
3. Phase 2: High-Speed Scanning and Identification
Once your piles are sorted, it is time to digitize them. Manually typing card names, set numbers, and rarity variations into a database is a slow, error-prone chore that discourages most collectors from keeping an updated inventory.
Using a dedicated mobile Pokemon card scanner is the fastest way to bridge the gap between your physical cards and your digital records.
How to Scan Efficiently:
- Work by Pile: Start with your "Hit Pile," move to the "Holo & Variant Pile," and finish with the "Bulk Pile."
- Optimize Your Angle: Hold your phone parallel to the card to avoid glare from overhead lighting. Glare can obscure set symbols, numbers, and artwork elements, leading to misidentifications.
- Verify the Match: While scanning, quickly verify that the app has matched the correct printing variant. Double-check whether the scanned card is a standard holo, a reverse holo, or a specific promo version, as these details affect your collection metrics.
Digitizing your cards at this stage ensures that your digital inventory is updated before the cards are physically filed away, preventing cards from "vanishing" into your collection unrecorded.
4. Phase 3: Condition Assessment and Price Check
With your cards scanned and identified, you can now assess their condition and check their market standing. This step is crucial because it dictates how much physical protection a card receives and where it will live in your storage system.
Inspect the card’s corners, edges, surface, and centering under your intake zone’s light. Note any whitening, silvering, or minor scratches. Once you have a clear picture of the card's condition, use a Pokemon card price checker to look up current market valuations.
Based on the estimated value and personal significance of the card, assign it to a protection and storage tier:
| Value/Rarity Tier | Physical Protection Required | Storage Destination | | :--- | :--- | :--- | | High-Value Hits | Perfect-fit sleeve + penny sleeve + top loader (or magnetic case) | Graded submission box or premium zipped binder | | Mid-Value Holos & Promos | Standard penny sleeve | Side-loading portfolio or trade binder | | Low-Value Bulk | None (or paper-banded in groups of 100) | Cardboard storage boxes (sorted by type or set) |
5. Phase 4: Physical Integration
Now that your cards are sorted, scanned, and protected, they are ready to leave the intake zone and enter your main collection. This is where your physical organization system must match your digital catalog.
- Binders: If you collect master sets, slide your newly protected cards into their designated slots. Use placeholders for any missing cards so you do not have to shift entire pages later.
- Storage Boxes: Place sorted bulk and playables into labeled cardboard storage boxes. Labeling your boxes by set, card type, or rarity makes retrieving cards for deck building or trading incredibly simple.
- Trade Binders: Move duplicate hits and cards you are willing to part with into a dedicated trade binder. Keeping your trade stock physically separate from your permanent collection prevents accidental trades and keeps negotiations clean.
6. Maintain the System with a Weekly Routine
An intake process is only as good as your consistency in using it. If you let cards pile up for months, the task of sorting and cataloging becomes overwhelming, leading to "spreadsheet fatigue" and a disorganized collection.
To keep your inventory accurate, establish a simple weekly or post-event routine:
- The Sunday Clear-Out: Dedicate 15 minutes every Sunday evening to empty your staging box. Scan, sleeve, and file whatever accumulated during the week.
- The Mail Day Rule: Never let mail day packages sit unopened or unsorted. Open them directly at your intake station, scan the cards immediately, and file them before you end your session.
- Post-Trade Night Reset: After returning from a local card show or trade night, immediately place your new acquisitions into the staging box and move traded-away cards out of your digital inventory.
For more tips on maintaining your collection, organizing bulk, or preparing for trade nights, check out our latest guides on the PokeSnap Blog.
Streamline Your Inventory with PokeSnap
Building a structured intake process keeps your physical cards safe and your collection organized. But to make this system truly effortless, you need a tool that can keep up with your workflow.
With PokeSnap, you can scan your cards in seconds, instantly identify printing variants, check current market values, and manage your entire digital catalog from the palm of your hand. Stop letting unsorted piles take over your desk—download PokeSnap today and take control of your Pokemon card inventory.