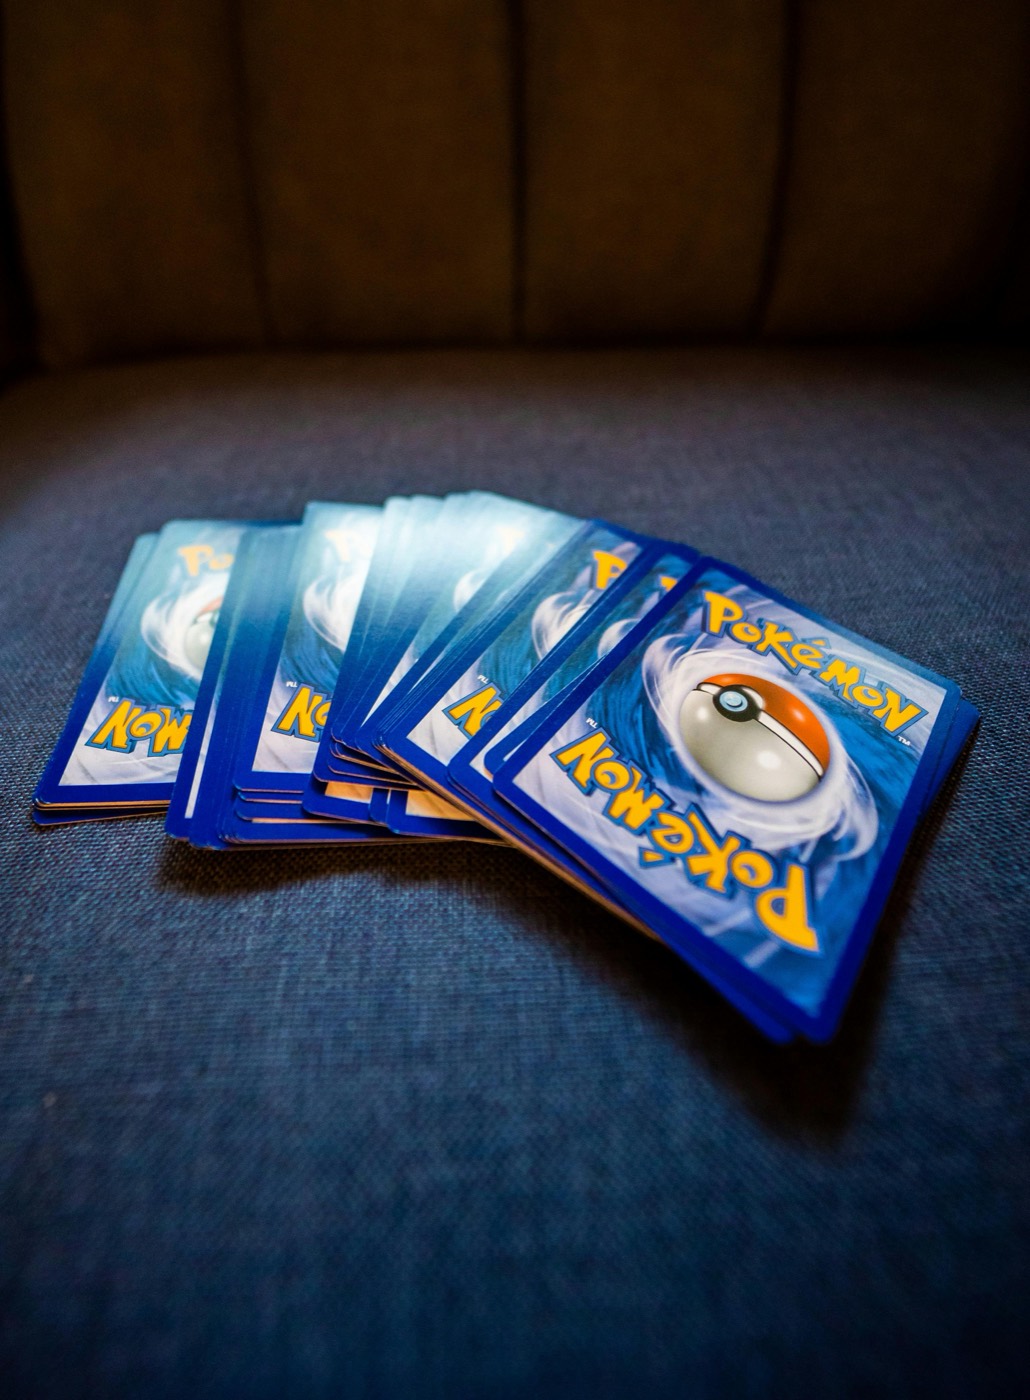
Every active Pokemon card collector eventually encounters the intake bottleneck. You return home from a local card show, unbox a parcel from an online order, or rip through a fresh booster box, only to end up with a growing pile of raw cards sitting on your desk. When new additions accumulate faster than you can sort, sleeve, and catalog them, physical clutter creates digital discrepancies. Duplicate purchases happen because you forgot what was sitting in the unsorted stack, and pristine holos risk corner dings or surface scratches while waiting for protection.
Establishing a repeatable batch intake and sorting workflow solves this issue. By treating intake as a structured pipeline rather than a chaotic chore, you can move cards from loose stacks to permanent storage in minutes. Here is how to set up an intake system that keeps your physical binders organized and your digital records perfectly synchronized.
Stage 1: Setting Up Your Staging Station
Before touching a single raw card, prepare a dedicated physical workspace. Trying to sort and catalog cards on a cluttered surface invites missing cards, bent corners, and mixed-up sets.
A functional intake staging area requires only a few essential tools:
- A Clean Playmat: Soft neoprene or cloth prevents surface friction against hard desk surfaces when sliding cards around.
- Microfiber Towel & Dust Blower: A quick surface wipe removes loose dust or factory debris before sleeving.
- Protection Supplies: Keep penny sleeves, semi-rigid holders, and top loaders within arm's reach so hits receive instant protection.
- Sorting Trays or Acrylic Dividers: Multi-slot trays let you rapidly separate cards by set, rarity, or card type without taking up your entire desk.
- Adjustable Desk Lighting: Overhead LED lighting helps you spot silvering, light scratching, or foil pressure marks during intake.
By keeping your staging station stocked and accessible, you eliminate setup friction. When a mail day or fresh pack opening arrives, you can begin processing immediately instead of hunting down sleeves or clear counter space.
Stage 2: Initial Triage and Rapid Physical Sorting
The biggest mistake collectors make during intake is trying to perform every task—inspecting, sleeving, pricing, cataloging, and filing—one card at a time. This single-card handling approach slows your pace to a crawl and increases handling wear.
Instead, process your intake in physical batches using a rapid four-stack triage system:
- Ultra Rares & High-Value Hits: Secret rares, full arts, textured cards, and vintage holos that demand immediate sleeve protection.
- Standard Holos & Reverse Holos: Modern foil cards destined for master set binders or dedicated foil storage boxes.
- Playable Deck Staples & Desirable Uncommons: Cards active players and local trade partners look for, separated from general bulk.
- Common & Uncommon Bulk: Regular set fillers destined for indexed storage boxes or future bulk sorting.
Focus purely on physical sorting during this initial pass. Do not stop to look up values or enter card numbers into a spreadsheet yet. Grouping cards into distinct physical categories first makes every subsequent step significantly faster.
Stage 3: Condition Inspection and Sleeving Standards
Once your raw stack is divided into triage piles, evaluate condition before digitizing or filing. Inspecting condition before card sleeves go on ensures you tag wear accurately in your inventory.
Examine the edges for minor whitening, check the corners for soft dings, and tilt foil surfaces under your desk lamp to identify micro-scratches or factory print lines. Establishing clear protective standards keeps your collection safe:
- Hits and Textured Cards: Double-sleeve high-value raw cards using a clear inner sleeve paired with a standard archival sleeve.
- Set Holos and Reverses: Single-sleeve in clear penny sleeves before placing them into binder slots.
- Japanese Printings: Japanese cards feature distinct mirror holos, back borders, and foil finishes that require careful handling. If you regularly handle imports, learn how to scan Japanese Pokemon cards safely without surface friction.
Catching flaws during intake prevents bad surprises later when you decide to trade, list single cards, or evaluate grading candidates.
Stage 4: Digital Cataloging with Mobile Scanning
With your cards sorted and properly sleeved, digitizing the batch takes only seconds per card. Relying on manual spreadsheet entry creates inventory backlogs because typing set numbers, card names, and variants takes hours.
Using a mobile scanning routine eliminates manual entry errors. Open a dedicated Pokemon card scanner app, place your sleeved card on your playmat under direct light, and capture the card. A quality scanner identifies the exact set logo, card number, and variant details instantly.
While logging cards into your Pokemon collection app, confirm that your physical scan matches the exact printing version. For cards with multiple print runs, promos, or parallel foil variants, cross-referencing with a built-in Pokemon card price checker ensures your collection value and missing card checklists stay accurate without requiring manual online search sessions.
Stage 5: Archival Routing to Binders and Storage Boxes
Once a card is scanned and saved into your digital catalog, move it immediately from the staging tray to its permanent physical home. Leaving scanned cards sitting in loose trays invites accidental re-scanning or binder misplacement later.
Implement a systematic filing route based on your collecting goals:
- Master Set Binders: File set cards directly into side-loading, ringless binder pages arranged by set number.
- Trade Binders: Group valuable extra copies by set era or card type so trade partners can browse easily.
- Indexed Bulk Boxes: Store commons and uncommons in acid-free storage boxes organized with physical card dividers labeled by set expansion.
Because your digital app already tracks the location and duplicate count of every card, you never have to pull out boxes or flip through binder pages just to verify what you own.
Stage 6: The 15-Minute Weekly Intake Habit
The key to a zero-backlog inventory system is consistency. Rather than letting cards pile up for months until intake feels like an overwhelming project, commit to a quick 15-minute weekly intake routine.
Set a fixed day each week—such as Sunday evening or right after your local trade night—to clear your staging station completely. Process any loose pickups, scan fresh pulls into your app, sleeve top hits, and file finished sets into binders.
By keeping your physical workspace organized and taking action weekly, your collection remains manageable regardless of how many new cards you acquire.
Keep Your Collection Organized with PokeSnap
A great inventory workflow relies on fast, reliable digital tools. PokeSnap turns your smartphone into a high-speed card scanner and binder manager. Scan raw cards in seconds, identify set variants instantly, track estimated values, and keep your physical binder progress perfectly synced with your digital collection. Download PokeSnap today and build a smooth intake routine that keeps your Pokemon card collection clutter-free!