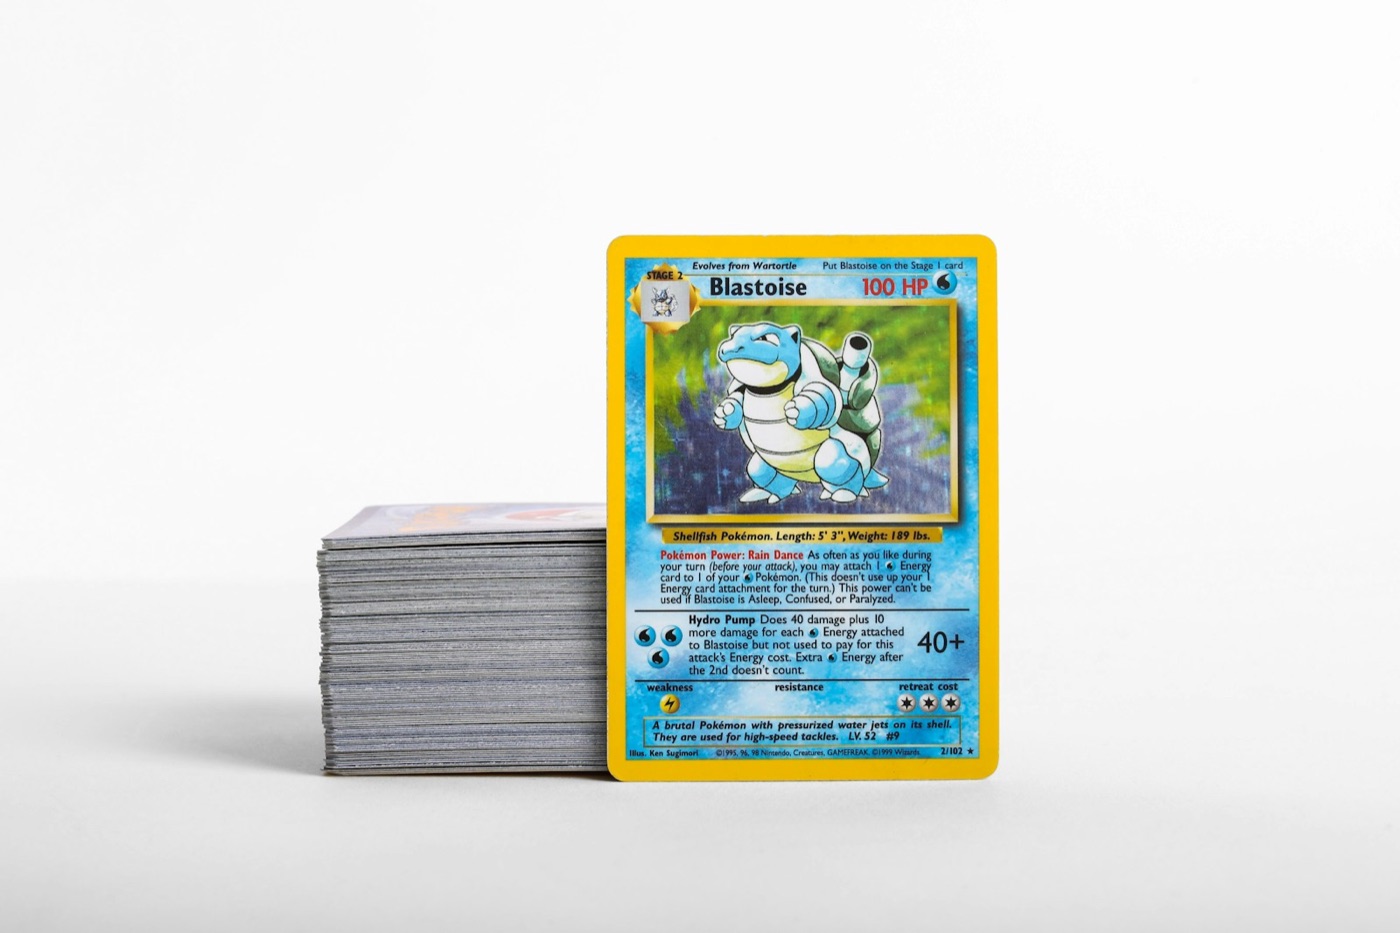
For active collectors, the thrill of acquiring new Pokemon cards can quickly turn into cataloging fatigue. Whether you are ripping booster packs, trading at local events, or buying singles online, cards pile up fast. Without a repeatable inventory protocol, your physical storage and your digital records will inevitably drift apart, leading to accidental duplicate purchases, lost cards, and general collection chaos.
The secret to maintaining a clean, searchable collection is simple: you must bridge the gap between your physical storage boxes and your digital tracking tool. By establishing a structured intake pipeline, you can process new acquisitions quickly, preserve card conditions, and keep your inventory perfectly accurate.
Here is a step-by-step guide to designing a scalable Pokemon card inventory protocol that actually fits your workflow.
1. Establish a Three-Zone Physical Storage System
Before you open a single pack or digitize a single card, you need a dedicated space to manage the flow of inventory. Trying to organize cards on the fly leads to misplaced items and damaged corners. Instead, divide your workspace into three distinct physical zones:
- Zone 1: The Intake Box (Unprocessed): This is a small, designated container (like a empty Elite Trainer Box or a small card tray) where all new cards go immediately upon arrival. No card enters your main collection binders or storage boxes without passing through this zone first.
- Zone 2: The Sorting Area: A flat, clean surface free of food, drinks, or dust. This is where you organize cards by set, rarity, or type before scanning and storing them.
- Zone 3: Permanent Storage: This is the final destination for your cards. It consists of three tiers: binders for master sets, protective toploaders or magnetic cases for premium hits, and bulk storage boxes for common and uncommon duplicates.
By keeping raw, unsorted cards strictly confined to Zone 1 and Zone 2, you protect your permanent collection from getting cluttered with unverified inventory.
2. The Standardized Intake Routine
Every time you bring home new cards, follow a strict intake routine. This prevents "mail day clutter" and ensures that every card is inspected and protected immediately.
- Unpack and Inspect: Remove cards from their shipping mailers, booster wrappers, or trade team sleeves. Check the front and back for surface dust or debris.
- Sleeve Immediately: Place any holographic, rare, or valuable card into a soft penny sleeve. Keeping cards bare on your sorting desk is a recipe for micro-scratches.
- Deposit in Zone 1: Place the sleeved cards into your Intake Box.
Never skip the intake step. Even if you only have five minutes, dropping your new pickups into the Intake Box keeps them safe and consolidated until you have time for a full cataloging session.
3. High-Speed Cataloging with a Digital Scanner
Once your Intake Box is full, it is time to transition your physical cards into digital assets. Manual entry—typing set numbers, names, and rarities into a spreadsheet—is the primary cause of collector burnout.
To speed up this process, utilize a high-quality Pokemon card scanner app. A smart scanner reads the card’s artwork, set symbol, and text in seconds, eliminating manual data entry entirely.
To get the best results from your scanning session:
- Use Matte Sleeves or Scan Raw: Shiny, high-gloss penny sleeves can create glare, which might make it harder for the scanner to read the set symbol or card number. If you struggle with glare, scan the card before putting it in a sleeve, handling it gently by the edges.
- Optimize Your Lighting: Avoid direct overhead lights that cast harsh shadows. Instead, scan near a window with indirect natural light or use a diffuse desk lamp.
- Set a Neutral Background: Place your cards on a dark, non-reflective playmat. The high contrast helps the scanner detect the borders of the card instantly.
4. Syncing Digital Folders with Physical Locations
Scanning your cards is only half the battle; you also need to know exactly where to find them in your physical space. A great Pokemon collection app allows you to organize your digital inventory into custom lists, folders, or tags.
Mirror your physical storage system within your digital tracker by creating matching lists:
- "Master Set Binder [Set Name]": For cards that are placed chronologically in your set binders.
- "Toploader Box A": For mid-tier hits stored in hard plastic cases.
- "Trade Binder": For duplicates you are actively looking to swap.
- "Grading Candidates": For raw cards you have set aside for potential submission.
When you scan a card, immediately assign it to its corresponding digital list before physically placing it in its permanent home. This simple habit ensures that your digital search results will point you to the exact box or binder page where the physical card lives.
5. Managing Duplicates and the Trade Pile
As your collection grows, duplicates are inevitable. If you do not manage them, they will quickly overrun your binders and dilute the organization of your main collection.
When sorting through your Intake Box, divide duplicates into two paths:
- Low-Value Bulk: Common, uncommon, and non-holo rare duplicates should be routed directly to bulk storage boxes. Keep these sorted by set or type to make them easy to search later. You can track bulk quantities in your app to know exactly how much trade-in value you have accumulated.
- Trade Stock: Holos, reverse holos, and ultra-rares that you do not need for your personal sets should go straight into a dedicated trade binder. Use a Pokemon card price checker to verify the market value of your trade stock periodically, ensuring your trade binder remains organized by value tiers.
6. The Weekly Maintenance Checklist
An inventory system is only as good as its upkeep. Set aside 15 to 30 minutes every week to audit your workspace and clear out your intake queues. Use this simple checklist to keep your collection pristine:
| Task | Frequency | Purpose | | :--- | :--- | :--- | | Clear the Intake Box | Weekly | Scan and sort all cards that accumulated over the week. | | Update Trade Binder Prices | Weekly | Check values before trade nights to keep negotiations fair. | | Audit Binder Gaps | Monthly | Compare your digital wantlist against physical binder pages. | | Sleeve Inspection | Monthly | Replace dusty or bent penny sleeves to protect card surfaces. | | Backup Digital Records | Monthly | Export your collection data to ensure your records are secure. |
Streamline Your Collection with PokeSnap
Building a flawless inventory system does not have to feel like a chore. With PokeSnap, you can turn your physical cards into a perfectly organized digital catalog in seconds. PokeSnap features an incredibly fast and accurate camera-based scanner, an integrated price tracker, and custom collection lists that make organizing binders, boxes, and duplicates easier than ever.
Whether you are hunting for missing cards to complete your favorite set or managing a massive trade inventory, PokeSnap keeps your collection organized, searchable, and always at your fingertips. Discover more collecting tips on our blog and download PokeSnap today to simplify your inventory workflow.